Wednesday, July 17, 2013

Strawberry Patch and What to Do With All Those Strawberries


Well, I should just say that I'm a little bit behind...I've been taking a break from The Redheaded Princess because of the craziness of life. Between school, work, and my family I just don't have a lot of extra time lately so the RHP has been taking a much needed back seat. 
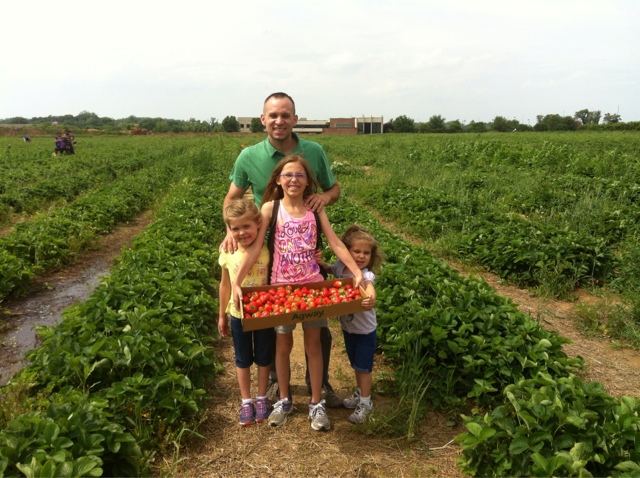
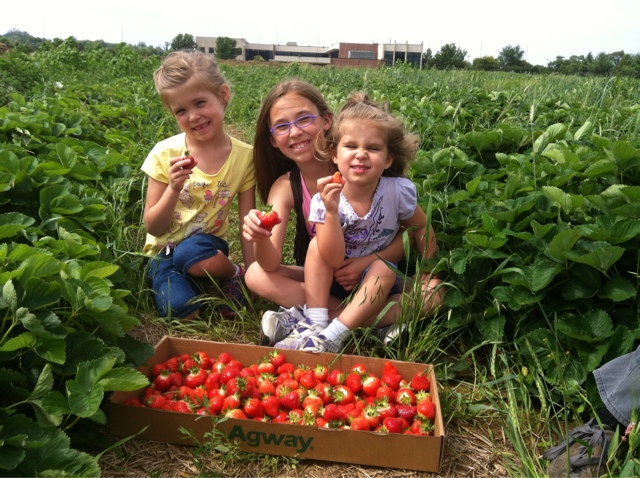
So real quick I thought I'd share my trip to the strawberry patch last month. We love to go up to ShadyBrook Farm in Yardley where they have a cute little market and a playground as well as a deli window where you could buy some lunch if you'd like. The girls got a little time on the playground this time but we decided not to eat there this time. My three princesses were great pickers!


Yeah, I don't usually get in pictures unless I do it myself...but here's my lovely little family with our box of strawberries.


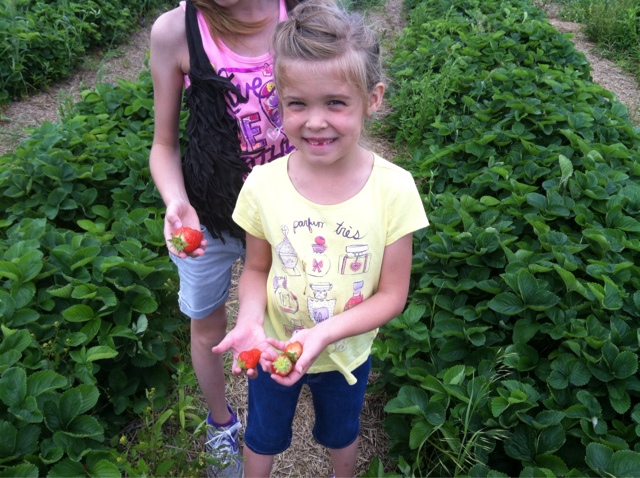


So, my question is: What do you do with all your strawberries? Well, I made some freezer jam with mine, a strawberry gorgonzola grilled cheese, and some strawberry shortcake (recipes to come). Even after all that, I had a bunch of strawberries left over. So, I decided to hull the strawberries, cut them in half, rinse them and freeze them on a cookie sheet.

Once they were frozen, I put them in a gallon freezer bag and used them in some homemade smoothies. I wish I'd have taken a pic because they were lovely AND delicious! Oh well, next time...What do You make with your strawberries?


Thursday, May 30, 2013

Working on a Green Thumb!


So, I've been slowing learning all about plants and gardening for the past 5 years. It's slow going, but I add a few plants each year to my repertoire of gardening knowledge. I've made lots of mistakes along the way AND had lots of good results. Well, some of you may remember last month when I posted How to Create an Edging for Your Garden. Well, I figured it's about time I posted an update. I didn't get mulch right away because I planted a bunch of bulbs from Michigan Bulb Company and was nervous they'd not get enough sun. HOWEVER, little did I know that it was going to be pouring rain and I'd have a terrible mudslide! Aaahhh!! Yeah, my little (not so little) hillside garden washed away and I had to dig, dig, dig and bring some of the dirt back UP the hill! I lost 3 freesia bulbs in the process :(. SOOO Prince Charming had to pick up the mulch and we spent a couple hours getting it all in.  And guess what?? The next time it rained everything stayed put!! Score! 

BEFORE

 AFTER

So anyway...luckily my awesome sister-in-law gave me a TON of beautiful hostas, which is great because while I'm patiently impatiently waiting for my baby plants to grow (seriously, the waiting is killing me!!) I at least have some lovely greenery. 


Alright, so onto the plants...here is my pitiful little Fernleaf Bleeding Heart. Next year it'll probably be triple the size if not more. When I ordered a garden from Michigan Bulb Co. several years ago at our old home the first year all the plants were fairly tiny. However each subsequent year they grew like crazy! I have to keep reminding myself "patience is a virtue...patience is a virtue....patience is a virtue..." sigh....I'm so NOT patient!


YES!! Finally my Lilies are coming through!!! I think I would have done a backflip today when I saw this if I was even capable of doing so....


I cannot WAIT for these to grow and bloom....Shasta Daisies!! One of my favorite flowers!


My Lily of the Valley plants.


Lily of the Valley up close and personal.


Widow's tears.


My 12" lilac. 


My primrose plant.


My raspberry bush transplanted from a neighbor's yard last June. It's more than double in size!


These fronds are my 2nd year asparagus plants planted in my Step Garden. Next year I get to harvest all of them babies! Can't wait! They're blocking the sunlight!

More updates to come...I just planted some veggies but forgot to take the rest of the pics...oops!

So there you have it! Hopefully I don't kill any plants especially since the mudslide already took some of them out. I am patiently waiting for my Ferns and Begonias but they are TAKING FOREVER! And believe me...when I said I'm impatient...yeah...I already dug down to the bulbs twice to see if there was any progress! Hopefully I didn't kill them in the process....can we say OCD???

post signature

Wednesday, May 15, 2013

How to Make a Slow-Cooker Pot Roast


How to Make a Slow-Cooker Pot Roast

I don't know about y'all but my life is CRAZY busy! So when I get SICK of eating crappy fast food it's nice to have a way to make dinner with minimal effort. Especially when it's waiting for me....all finished....when I get home from work! This recipe is adapted from Paula Deen's recipe for a traditional pot roast. It's simple and delicious!


Ingredients: 

3 lb bottom round roast (can use a chuck roast if you want. It's cheaper:) )
salt, pepper and garlic powder, to taste
2 Tablespoons vegetable oil
1 onion, sliced
3 cloves garlic, minced
1 (10 3/4 oz) can cream of mushroom soup
1/2 cup red wine
1/4 cup water
2 Tablespoons Worcestershire sauce
1 Tablespoon beef bouillon granules
2 bay leaves
6 carrots, peeled and quartered
For Gravy:
2 Tablespoons butter
1 Tablespoon
1 1/2 cups reserved liquid from pot roast (after it's cooked)


1. First preheat a heavy bottomed skillet over medium-high heat. Add vegetable oil. While the pan is heating, season roast with salt pepper and garlic powder.


2. Sear meat on all sides. You're not trying to cook it, just brown the outside.


3. Add onion and garlic to pan and add more vegetable oil if needed. Saute the onion and garlic trying to soak up the flavor from the beef.


4. Place roast onions and carrots in a slow cooker.


5. Mix mushroom soup, Worcestershire, red wine, bay leaves, water, and beef bouillon together. Pour over the roast. Cook on low 6-8 hours.


6. Remove roast and carrots.


7. Strain out onions and carrots. I leave some of the onions in because I like them in my gravy but you don't have to if you like your smooth. 


8. While roast is resting melt 2 tablespoons of butter in a medium sauce pan and add 1 tablespoon of flour. Season with salt and pepper to taste.


9. Whisk together and cook 1-2 minutes...you are making a roux which is a thickening agent.


10. Slowly pour in 1 1/2 cups of reserved liquid from the slow-cooker. Boil until sauce thickens into a gravy thickness. Pour over roast and enjoy!


Related Posts Plugin for WordPress, Blogger...