Showing posts with label Recipes. Show all posts

Monday, March 2, 2015

Hot Mexican Spinach Dip

Updated 3/2/15 from an earlier post 11/18/11

Okay, so this is one of the most delicious dips ever! I came across this recipe years ago on allrecipes.com. I can't take the credit but it's always been a hit at parties.  One thing I do differently is use pepper jack cheese instead of just monterey jack and also I sometimes add a little bit of jalapeno peppers. Just serve it up with some tortilla chips. I prefer my homemade tortilla chips but store bought ones are fine too.
Hot Mexican Spinach Dip
1 (16 ounce) jar salsa
1 (10 ounce) package frozen chopped spinach, thawed and drained
2 cups shredded pepper Jack cheese
1 (8 ounce) package cream cheese, diced and softened
1 cup evaporated milk
1 (2.25 ounce) can chopped black olives, drained
1 tablespoon red wine vinegar
salt and pepper to taste
chopped pickled jalapeno slices, to taste (Optional)


First what you're gonna do is place diced cream cheese in a microwave/oven safe bowl. Then using a strainer place defrosted spinach and press the water out. You can also use cheesecloth, just get as much moisture out as possible.


Basically all you do now is combine all the ingredients. Depending on how much of a "kick" you like will determine the hotness of the salsa you use. I have even added some chopped pickled jalapeno slices to give some extra added heat.


To go a little quicker, I like to microwave it for about 5 minutes or so and stir to get all the cheeses melted together. You can finish in the microwave if you like, it'll taste just as delicious, but I usually finish mine off in a 400 degree F. oven for about 15 minutes. Then just serve it with your favorite tortilla chips. It'll be a hit, I promise!


If you've tried this or made this before or have any questions or suggestions show me some comment love! :)

Thursday, July 31, 2014

Carolina Pulled Pork in the Slow Cooker


Updated: July 31, 2014
Originally Published July 31, 2012

There's nothin in the world like a good ol' southern pig pickin'. It's something quite common down in North Carolina. My husband and I had one at our wedding reception 14 years ago as did my cousin who got married a couple years ago. It's nothin' fancy, just some down home cookin'.  So I decided it was time to make my own version of Carolina BBQ. Typically a pig (or two) are slow roasted in a large barrel cooker, which looks like an oil drum, for hours and hours. Then, after the pork is pulled it is served with some famous Carolina barbeque sauce which typically is apple cider vinegar and red pepper flakes and a few other spices. There are a million and one versions but they all have to have that vinegar as the base. It's what makes Eastern Carolina Barbeque different. Nope, it's not sweet like Memphis Que, but has some tang and spice. Don't get me wrong..I love me some molasses-based barbeque sauce...(like my JD Barbecue Sauce) I can eat that with most anything, including potato chips. BUT, Carolina BBQ is what I was raised on and though both are good I cannot choose my favorite because they are so different. I love them both! So anyway..I was on a mission to create a delicious Pig Pickin for my Princess's third birthday party complete with barbecue, cornbread, potato salad, baked beans (I cheated and used Bush's) and cole slaw . Well, I don't know about you, but up here in PA I don't have a barrel smoker sittin' in my backyard thank you very much. PLUS, who has the time? Seriously? Not me, that's for sure! So instead I tried to adapt my Jack Daniels Memphis style Slow Cooker Pulled Pork recipe to a Carolina Slow Cooker Pulled Pork. Okay, now I'm going to tell you the secret in the sauce...because, if you're gonna cheat, there HAS to be a trick somewhere. The trick here is to use.....drumroll please......

                       .........Liquid Hickory Smoke. Yep, they bottle smoke. Who knew? It'sbasically water that has had smoke pass through it, then it's bottled. I can usually find liquid smoke in my grocery store. It's the key to giving the pork that smokey flavor. I know, I'm a cheat...but so what?! It tastes amazing and is less hassle! Seriously, my mouth is watering right now just thinking about Caroline Pulled Pork. Sigh....luckily I was down south a few weeks ago and got some straight from my old stompin ground...and it was delicious! I think I smell some pulled pork in my near future.


SO..without further adieu...here's my tasty recipe. I love it! Hope you do too! It's got a little kick to it, but what do you expect when it calls for red pepper flakes? :)

Ingredients:

Rub:
1 T. Chili Powder
1 T. Salt
1 T. Onion Powder
1/2 tsp. pepper

5lb shoulder roast or picnic roast
1 T. Liquid Hickory Smoke
3 cups divided Carolina Barbecue Sauce

BTW: Make the barbecue sauce the day before! 


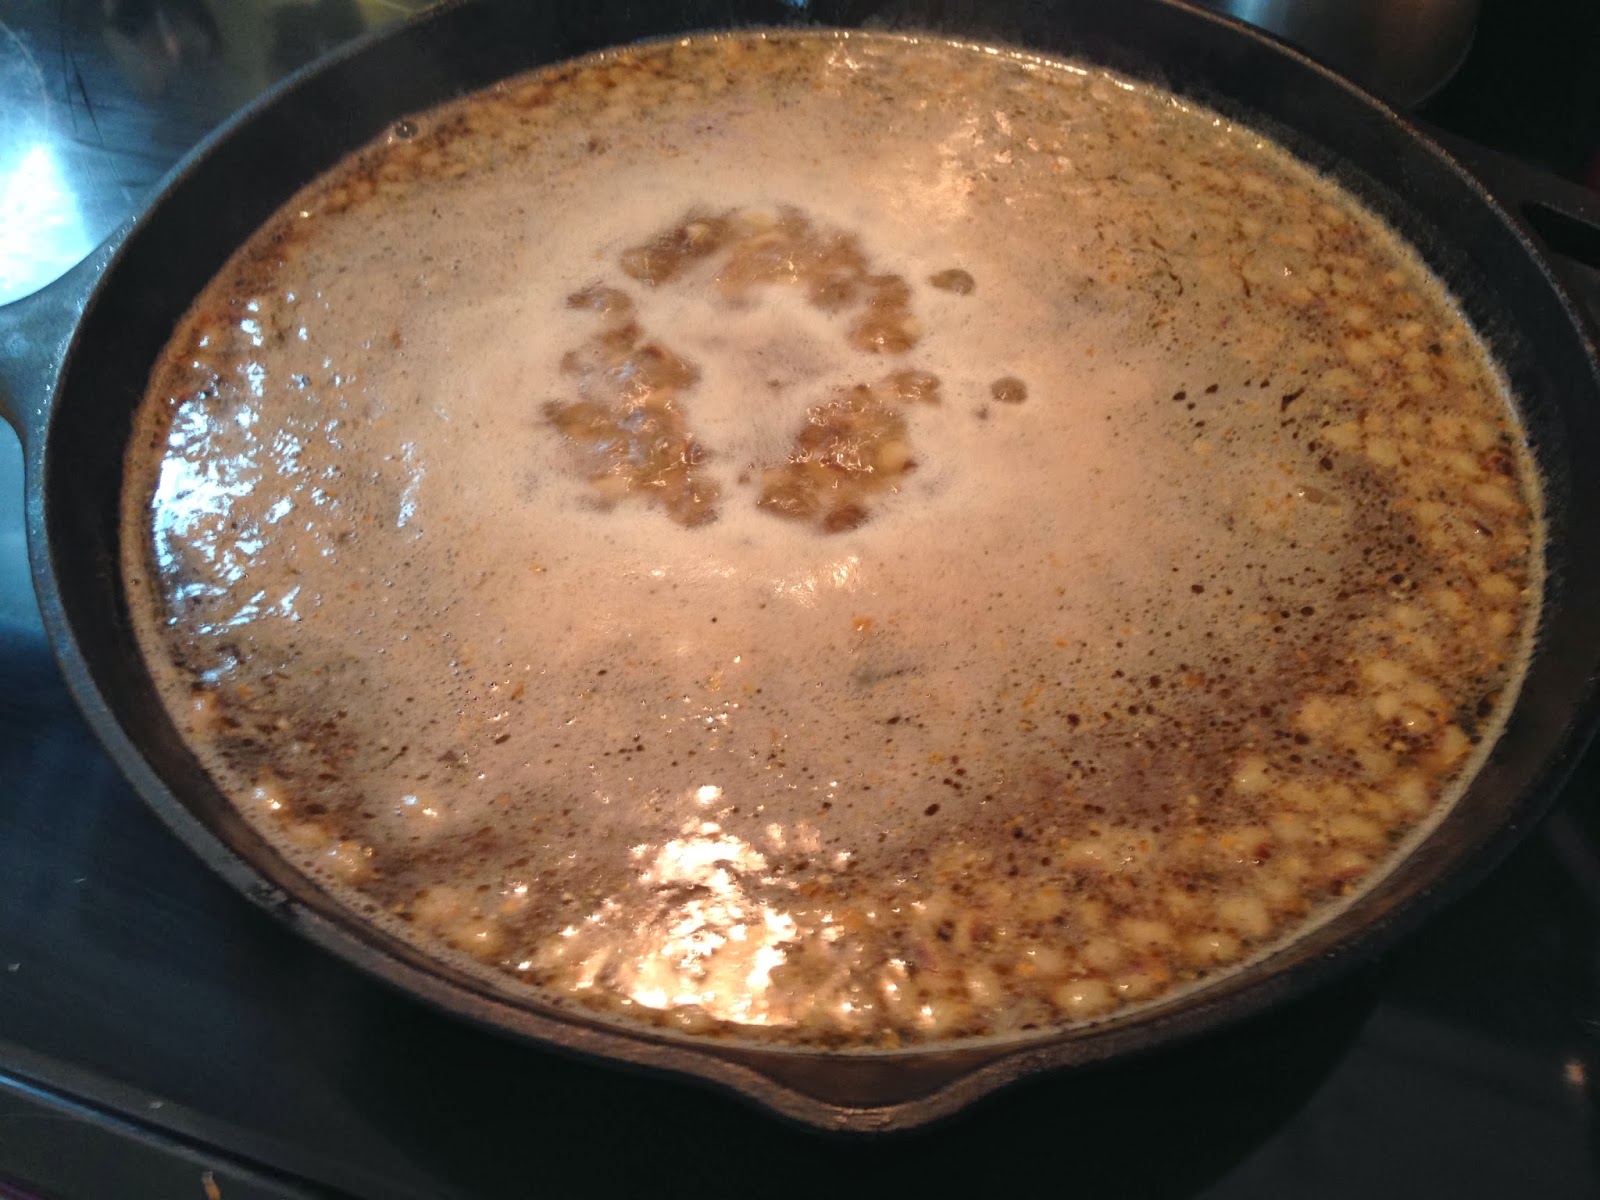
1. Preheat a skillet over medium high heat. Then mix spices together then rub all over the pork. Sear the roast on all sides. This will give it a little more flavor and since we are slow cooking, we need to cheat as much as possible. :)


2. Flipping the roast can be tricky because it is pretty heavy so I used some tongs and a big spatula. Just be careful because it's pretty hot.


3. Next, place in the slow cooker and add 1 cup of barbecue sauce along with 1 tablespoon of liquid hickory smoke. Place the lid on and cook over night on low. (8 hours) 


4. Remove roast to a separate dish to cool slightly.


5. Using two forks at first, shred the pork. Once it is cool enough to handle then definitely use your fingers to pull the pork. You have a better feel of what is fat and what isn't that way and it is much easier too.

6. Pour the drippings into a separate bowl. 


7. Skim the fat off the top and discard. Reserve 2 cups of juices and add 2 cups of the barbecue sauce.


8. Place pulled pork back in the slow cooker and pour in the sauce mixture. Cook on low for 3 hours. You can cook longer, it really doesn't hurt anything. I cooked mine for 6 hours.


9. Here y'all go! Doesn't that look amazing?? You can serve it up just on a plate with some fixins like cornbread, potato salad and cole slaw on the side. OR you can serve it on a bun. Just make sure to pour some of the Carolina Barbecue Sauce over it before you dig in either way. Oh, and it ain't right if you don't put the slaw ON the sandwich. You gotta do it up Carolina style! The combo of textures with the sweet and the tang is what makes this sandwich most incredible. Just try it! No whining :)


I got a ketchup and mustard container set from Walmart for less than 2 bucks. I'd suggest cutting off the tip to make the spout a little larger. Have this filled with the sauce to make it easier for guests to pour sauce on the pork.

To Print the RECIPE ONLY Click Here


Monday, March 10, 2014

Easy Homemade Spanish Rice


So, if you haven't noticed...I tend to make a lot of Mexican food in my house. However, I usually buy packaged Knorr brand Spanish rice to go along with most of my Mexican dishes. Last week, though, the grocery store was all out. So I had to improvise. I looked up several recipes and then adapted it to make with the ingredients I like or had on hand. This is what I came up with. It may not be 100% authentic, but it certainly is closer than the prepackaged stuff I normally get. This recipe is pretty simple, and delicious! (fyi my phone is going crazy, so I ended up losing some of my pics.

Ingredients:
1 cup long-grain white rice
1/4 cup vegetable oil
2 cups chicken stock
1/4 cup tomato sauce
salt and pepper to taste
2 cloves garlic, minced
1/4 tsp. cumin
1/4 tsp. chili powder


1. Heat oil in a pot or deep skillet. Add rice and cook until browned. 


Here's the rice all browned. 

2. Next, add the chicken stock, salt & pepper, minced garlic, cumin, chili powder and bring to a boil. Reduce heat to low and simmer for 15-25 minutes. 

Voila! Delicious Spanish Rice!


Thursday, January 23, 2014

{New Year's Day Good Luck Dinner} Southern Black-Eyed Peas and Collard Greens


Happy New Year! I know, I know, I'm a little late. So, I don't know how many of you know this, but it's a Southern tradition to eat black-eyed peas and collard greens and pork on New Year's Day for a year of good fortune.  I know this may sound sacrilegious but I was never a fan of collard greens. Sorry, all of y'all  Southerners! They've just always been bitter no matter who cooked them for me. Plus, "collards" sounds as appetizing as "innards...especially when pronounced with a southern twang" lol..I know, I'm weird. So anyway, my parents came up for the holidays this year and my momma was all excited to make us our good-luck dinner. I was not excited. (Sorry mom :) ) So, in honor of my mom's hard work, I was going to be polite and eat her dinner, but much to my surprise...it was AMAZING! Honestly! I had two helpings and even had it for lunch a few times that week. My sister came to visit and I didn't even want to share it with her..lol. My mom was right! These were delicious and the collards had a little kick to em and weren't even bitter! I'm thinkin that I may have to make these withOUT it being New Year's day! I hope y'all try it, because you won't be disappointed! (For a little history on the tradition click here...but not until after you've checkout out the recipe :))

Southern Black-Eyed Peas

Ingredients: 
1 lb. dried black-eyed peas
1 large onion, diced
1 large ham hock
2-4 slices of cooked bacon
2 large carrots diced
1/8 tsp cayenne pepper, or to taste
1 clove garlic, minced
1/2 tsp. salt
dash of red pepper flakes

You have two options with the beans. Option #1: Place beans in a large bowl. Cover with 3 inches of water above the beans. Soak overnight. Drain. 
If you do this, it'll eliminate the hour prep in the morning of power soaking them. Just depends on what you want to do. 


OR Option #2 Power Soak: Place beans in a pot and cover with 3 inches water.  Bring to a boil and simmer for 2 minutes. Remove from heat, cover and let stand for one hour. Drain. (Since we could not find dried black-eyed peas at three different stores, Mom got a bag of frozen black-eyed peas and green beans and picked out the green beans. Then we did the power soak option)

Don't ya love my momma's sexy heart robe..lol :) Prepping the chopped onions.

While beans are cooking, place ham hock, sliced bacon, diced onion, diced carrots, pepper, garlic and salt in a slow cooker or crock pot. Pour in 3 cups water. Cover and cook on High until peas are tender, and ready to go in, OR if you soaked the peas overnight then add the beans right away with the other ingredients and cook on high 1 hour.


When peas are ready, transfer to the slow cooker. We used a strainer spoon to transfer them to the slow cooker. Reduce heat to low. Cover and cook for 7-9 hours. 


Taste and adjust seasonings. Serve with collards and my hot cornbread!


Say hi to my momma...isn't she cute?! :)

Now, onto the collards....

Collards with Kick

Ingredients:
1 T. olive oil
3 slices bacon, diced
1 large onion, chopped
2 cloves garlic, minced
1 tsp. salt
2 T. sugar
1 tsp. black pepper
3 c. chicken stock
1 pinch of red pepper flakes
1 lb. fresh collard greens


First, heat oil in a large pot over medium to medium-low heat. tear leaves off of the long thick stem down the middle. That part is a little more bitter.


Next, tear the leaves into small pieces, removing any really thick parts of the stems remaining.


Add bacon and cook until crisp.


Turn heat to medium high and add onion, and cook until tender, about 5 minutes.

.

Next, add collard greens and saute until they start to wilt. It may look like a lot, but trust me, they will cook down.


Pour in chicken stock and season with salt, pepper, sugar and red pepper flakes. Reduce heat to low, cover and simmer for 45 minutes or until collards are tender. 

Serve with black-eyed peas and my homemade cornbread.


Click Here for Printable Recipes


post signature

Saturday, January 18, 2014

Best of 2013

Image Map


Hey Y'all!

Have ya missed me?? I know, I know....You thought I fell of the face of the earth. I did not..I assure you! I've just been insanely busy! I was in charge of our church Christmas play, which went amazingly well. (I sure am glad it's over though!) That took up a TON of my time...plus you know...all the extra stuff at the holidays. I took my first teacher certification test and passed! Yay! I have 4 classes to go till my student teaching in the fall...So I can FINALLY see the light at the end of the tunnel. I will be SO very glad when school is over. You have NO idea! Maybe I can become a normal human being, perhaps spend more time with my family, actually do a load of laundry and help my Prince Charming out (not that I actually miss doing laundry). So, even though I've been MIA I still wanted to share some of my favorite posts from the year. Mostly recipes and a few DIYs. I'm still in LOVE with my dining room table and record player. I'm itching to paint my bedroom furniture but again...I need the time! So, if you've been one of my faithful readers, or if you're here for the first time...click the pics, they should take you to some of my favorites. Thanks, everyone!

Happy New Year!


post signature

Saturday, October 5, 2013

Strawberry Gorgonzola Grilled Cheese (or Panini)


How many of you LOVE strawberries??? How many of you head to the strawberry patch every year with your kiddos in tow only to pick more strawberries than you really need. My question always is..."What am I going to do with them?" I can only have Strawberry shortcake so many times. This year I tried freezer jam and froze a bunch which I used for smoothies as well. Well, after going to this one restaurant in the city called Garces Trading Company (if you're in Philly...I'd definitely recommend it because the food is AMAZING) I had a cheese sampler plate and one of the cheese was a 'stinky' cheese. I can't remember but I think it was Gorgonzola and though in my head I was wrinkling my nose at the idea of eating a 'stinky' cheese I tried it anyway, for one...because I wasn't paying, and two because it was made on the premises...so...when in Rome....I absolutely LOVED it! Ever since, I have been getting crumbled Gorgonzola to put on my salads. So after getting home with all these strawberries, having strawberry shortcake twice, making freezer jam and freezing a ton, I still had some left over. So, I decided to make my own version of a grilled cheese. Sorry, this post doesn't have step by step with pictures...I was too hungry to grab my iphone. 

Ingredients:

2 slices of bread (I used white Italian because it's what I had on  hand)
strawberries, sliced (however many you think looks good)
crumbled Gorgonzola cheese (ditto)
arugula or lettuce (I used spring mix bagged lettuce)
butter/margarine

1. Preheat griddle or skillet. 
2. Spread butter on one side of both slices of bread.
3. Put the slices of bread on the NON-buttered sides first to toast it up a little so the inside won't be too soggy.
4. Once the bread is a little toasted, flip to the buttered side. 
5. Add the Gorgonzola cheese to one piece. Add strawberries and lettuce/arugula. Place the other slice on top buttered side up.
6. Once the bottom is toasted, carefully flip to grill the other piece and press down a little with the spatula.
7. Once toasted, remove from pan and Enjoy!


Wednesday, May 15, 2013

How to Make a Slow-Cooker Pot Roast


How to Make a Slow-Cooker Pot Roast

I don't know about y'all but my life is CRAZY busy! So when I get SICK of eating crappy fast food it's nice to have a way to make dinner with minimal effort. Especially when it's waiting for me....all finished....when I get home from work! This recipe is adapted from Paula Deen's recipe for a traditional pot roast. It's simple and delicious!


Ingredients

3 lb bottom round roast (can use a chuck roast if you want. It's cheaper:) )
salt, pepper and garlic powder, to taste
2 Tablespoons vegetable oil
1 onion, sliced
3 cloves garlic, minced
1 (10 3/4 oz) can cream of mushroom soup
1/2 cup red wine
1/4 cup water
2 Tablespoons Worcestershire sauce
1 Tablespoon beef bouillon granules
2 bay leaves
6 carrots, peeled and quartered
For Gravy:
2 Tablespoons butter
1 Tablespoon
1 1/2 cups reserved liquid from pot roast (after it's cooked)


1. First preheat a heavy bottomed skillet over medium-high heat. Add vegetable oil. While the pan is heating, season roast with salt pepper and garlic powder.


2. Sear meat on all sides. You're not trying to cook it, just brown the outside.


3. Add onion and garlic to pan and add more vegetable oil if needed. Saute the onion and garlic trying to soak up the flavor from the beef.


4. Place roast onions and carrots in a slow cooker.


5. Mix mushroom soup, Worcestershire, red wine, bay leaves, water, and beef bouillon together. Pour over the roast. Cook on low 6-8 hours.


6. Remove roast and carrots.


7. Strain out onions and carrots. I leave some of the onions in because I like them in my gravy but you don't have to if you like your smooth. 


8. While roast is resting melt 2 tablespoons of butter in a medium sauce pan and add 1 tablespoon of flour. Season with salt and pepper to taste.


9. Whisk together and cook 1-2 minutes...you are making a roux which is a thickening agent.


10. Slowly pour in 1 1/2 cups of reserved liquid from the slow-cooker. Boil until sauce thickens into a gravy thickness. Pour over roast and enjoy!


Related Posts Plugin for WordPress, Blogger...