Showing posts with label Appetizers and Snacks. Show all posts

Monday, March 2, 2015

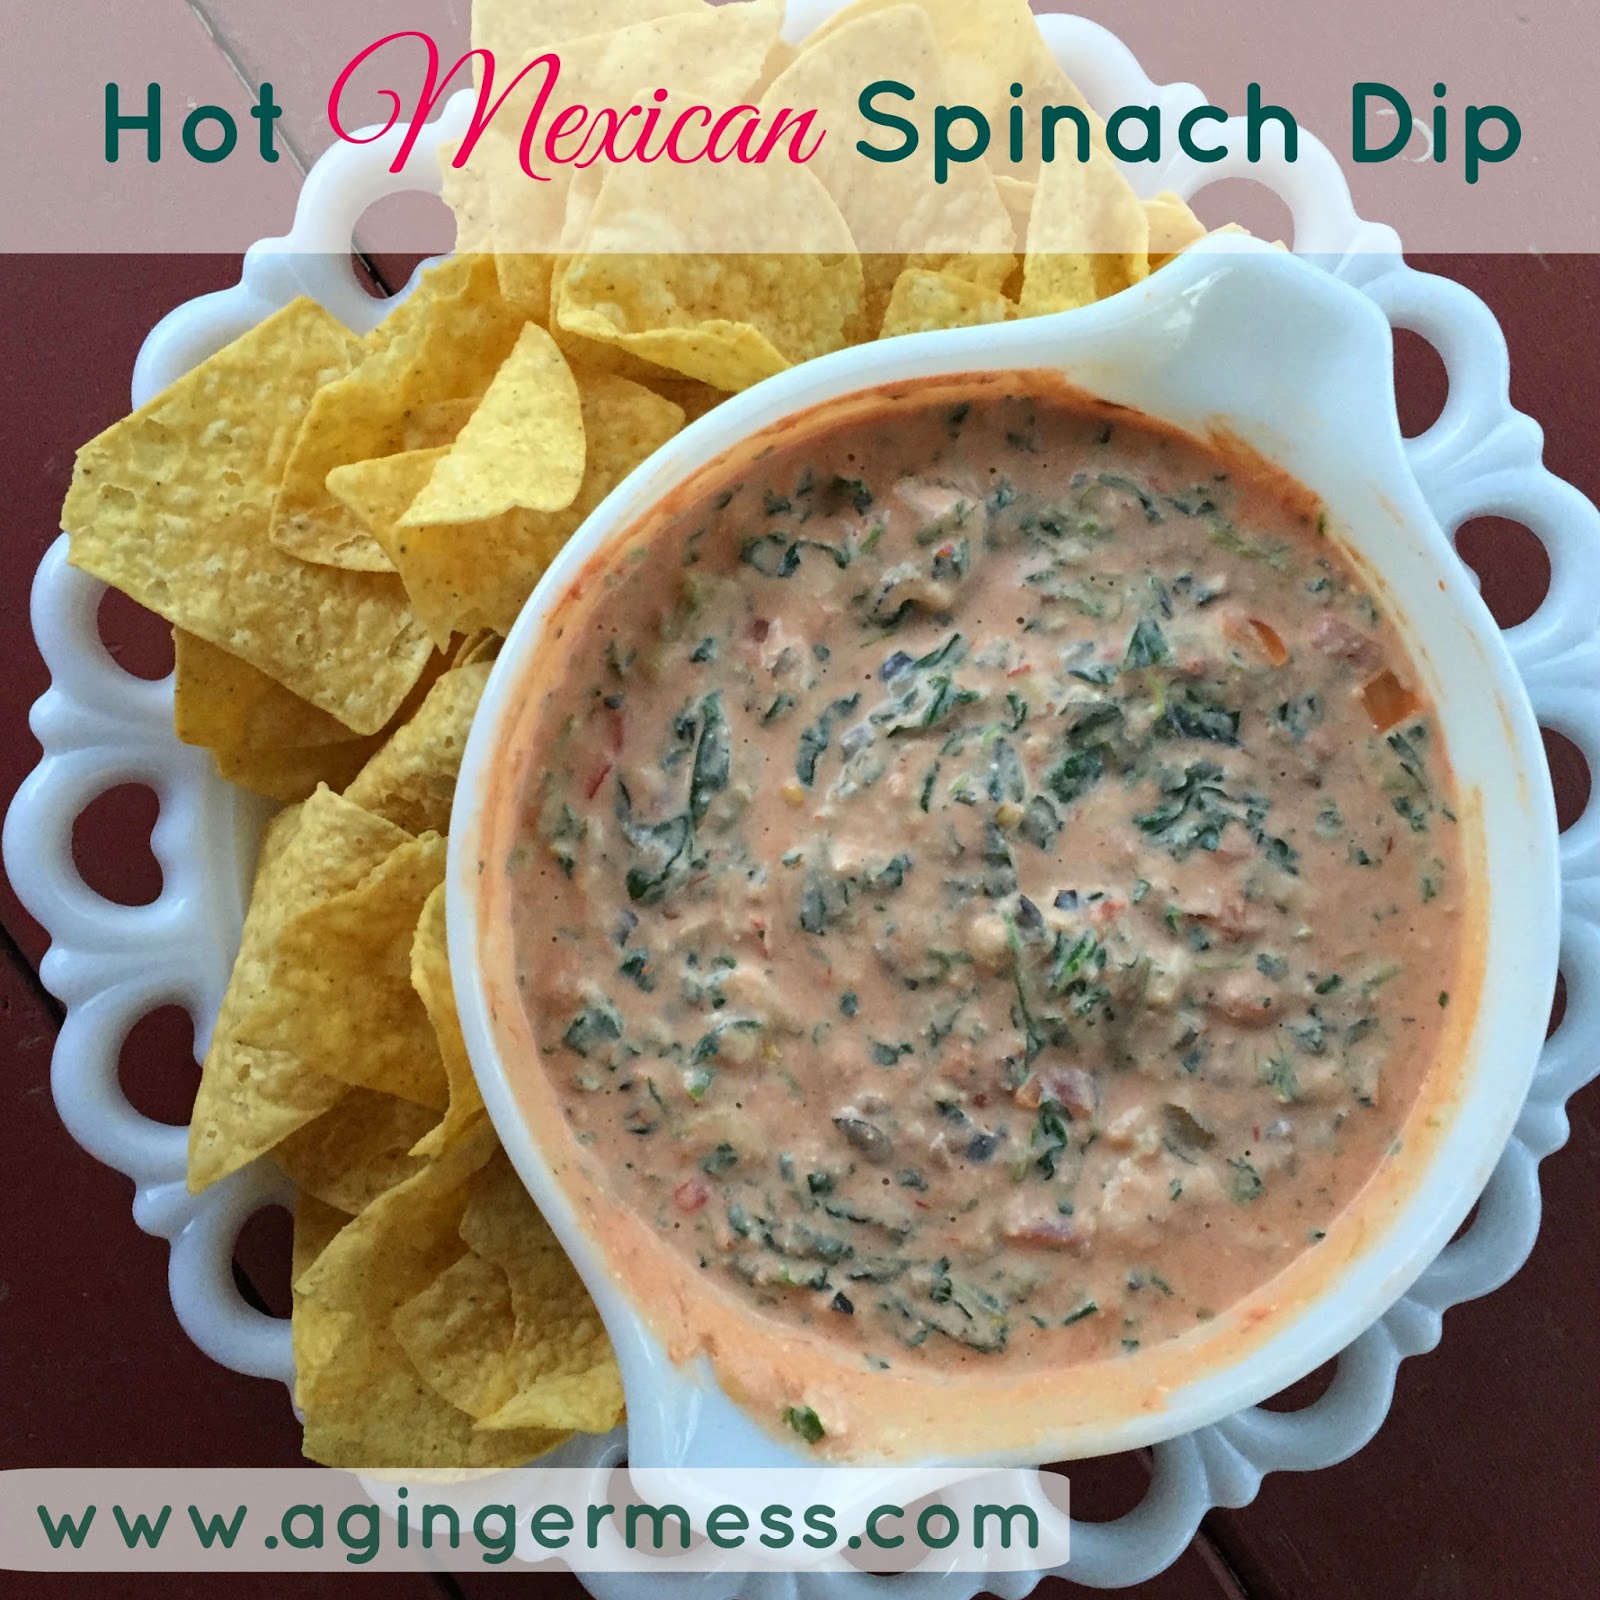
Hot Mexican Spinach Dip

Updated 3/2/15 from an earlier post 11/18/11

Okay, so this is one of the most delicious dips ever! I came across this recipe years ago on allrecipes.com. I can't take the credit but it's always been a hit at parties.  One thing I do differently is use pepper jack cheese instead of just monterey jack and also I sometimes add a little bit of jalapeno peppers. Just serve it up with some tortilla chips. I prefer my homemade tortilla chips but store bought ones are fine too.
Hot Mexican Spinach Dip
1 (16 ounce) jar salsa
1 (10 ounce) package frozen chopped spinach, thawed and drained
2 cups shredded pepper Jack cheese
1 (8 ounce) package cream cheese, diced and softened
1 cup evaporated milk
1 (2.25 ounce) can chopped black olives, drained
1 tablespoon red wine vinegar
salt and pepper to taste
chopped pickled jalapeno slices, to taste (Optional)


First what you're gonna do is place diced cream cheese in a microwave/oven safe bowl. Then using a strainer place defrosted spinach and press the water out. You can also use cheesecloth, just get as much moisture out as possible.
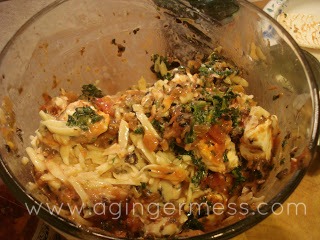

Basically all you do now is combine all the ingredients. Depending on how much of a "kick" you like will determine the hotness of the salsa you use. I have even added some chopped pickled jalapeno slices to give some extra added heat.
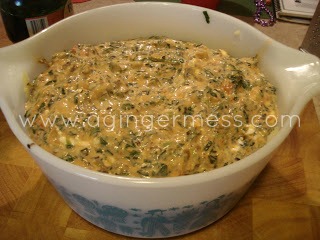


To go a little quicker, I like to microwave it for about 5 minutes or so and stir to get all the cheeses melted together. You can finish in the microwave if you like, it'll taste just as delicious, but I usually finish mine off in a 400 degree F. oven for about 15 minutes. Then just serve it with your favorite tortilla chips. It'll be a hit, I promise!


If you've tried this or made this before or have any questions or suggestions show me some comment love! :)

Thursday, April 4, 2013

Garlic & Lemon Hummus with toasted pita chips


For Easter last weekend, I decided to make some appetizers to bring over to my in-laws' house for Easter dinner. And since I love hummus, but not everyone loves my spicy Chipotle Pepper Hummus, I decided to make a garlicky batch. Now, keep in mind, you can cut the garlic WAAYY back if you are not a huge fan and then you'll have regular hummus and it'll be delicious too...but I LOVE garlic so, yeah, there are 6 cloves in this bad boy. Not for the faint of heart..or smell... so if you're sweetie doesn't like that, you may need some mints...or a bath...because it'll be coming out of your pores...lol. 

(Disclaimer: I just regurgitated the pics from my Chipotle Pepper Hummus because you make it the same way except you add more garlic and lemon juice and don't add the peppers)

Ingredients

1 can chickpeas (garbanzo beans) drained and liquid reserved
1/4 cup reserved liquid 
1/4 cup lemon juice
3 Tablespoon Olive oil
6 cloves garlic minced
2 Tablespoons Tahini paste
salt and pepper (to taste)

For Pita Chips:
1 bag of pita bread (whole)
olive oil
salt, to taste


1. Drain the chickpeas, reserving the liquid.


2. In a food processor, add all of the ingredients except the garlic.


3. Use a garlic press for the garlic, this way you wont have big chunks of garlic and it will be distributed more evenly. If you don't love garlic, then only put 2 cloves in.


4. Process for a few minutes until smooth. I let it run for several minutes because I didn't like it too grainy so I made sure it was nice and smooth.


5. If it's too thick, add a little more of the reserved liquid till it reaches your desired consistency.


6. Serve with pita bread, pita chips, veggies or whatever you desire.

For Toasted Pita Chips:
(Sorry, I didn't take pics of this..will update it next time I make them)
1. Preheat oven to 350 degree Fahrenheit. 
2. Cut all the slices of pita bread in half. 
3. Then cut each half into triangular quarters.
4. Carefully peel each triangle apart. (will make two chips)
5. Layer in a single layer onto 3 baking sheets smooth side down. (Can do one at a time but will take three times as long:) )
6. Brush each chip with olive oil and sprinkle lightly with salt.
7. Bake in preheated oven 10 minutes or until toasted.

SERVE WITH THE HUMMUS....Look at those chips!! They were absolutely delicious!


post signature

Monday, August 27, 2012

Chipotle Pepper Hummus


I was so excited when I went to my sister in law's house and she taught me how to make hummus myself. I love hummus! But at five bucks or more for a small container...eh, not so much. I realized I actually had most ingredients in my pantry except one...Tahini. Tahini is ground sesame and was about $6 for the container you see in this picture. It stores well in the fridge and you only use a tablespoon and a half per batch so it will last quite some time. I also keep chipotle peppers in the freezer individually frozen in a freezer baggie so I have those as well. You can make any kind of hummus you'd like, but I like something with a little kick.


Ingredients
1 can chickpeas (garbanzo beans) drained and liquid reserved
1/4 cup reserved liquid 
3 Tablespoons lemon juice
1 Tablespoon Olive oil
1 chipotle pepper
2 cloves garlic minced
1 1/2 Tablespoons Tahini
salt and pepper (to taste)


1. Drain the chickpeas, reserving the liquid.


2. In a food processor, add all of the ingredients except the garlic.


3. Use a garlic press for the garlic, this way you wont have big chunks of garlic and it will be distributed more evenly.


4. Process for a few minutes until smooth. 


5. If it's too thick, add a little more of the reserved liquid till it reaches your desired consistency.

6. Serve with pita bread, pita chips, veggies or whatever you desire. Enjoy!


Wednesday, January 25, 2012

Guacamole...the best I ever ate!!;)


Okay, so this recipe is so delicious! I know, I know, I say that about all of them. But seriously....it is. There's nothin like some fresh guacamole served with  homemade tortilla chips. May not be super healthy, but definitely yummy! This is pretty much my Momma's recipe which I've been eating/making for the past 20 years or so. I hope you enjoy it! I know I do :)


Ingredients

2 ripe avocados
1 tsp minced onion
1 T. finely diced tomato
1/2 tsp chili powder
dash cumin powder
1/4 tsp. salt
1 T. lemon juice

So first you need to find some good avocados. This can sometimes be hit or miss at the grocery store if you want guacamole on a whim. You don't want the ones that are the nice pretty green because they are hard as rocks and you won't be mashing those babies any time soon. You want them to be dark like these. However, if that's all they have and you know you'll be making it in a couple days (not right away) then go ahead and buy them. When you get home, put them in a paper bag and they should be ready in a couple days.
So anyway, you need to get the avocados that make a dent when you gently press their skin with your thumb. You don't want it so mushy that your finger pokes right through, but you definitely do not want them to be firm either.


When you're ready to make the guacamole, slice the avocados in half length wise. Twist apart.


Use your knife to remove the pit and scoop the flesh into a bowl.


Add the spices and lemon juice. Be careful with the spices, especially the cumin. They are not meant to overpower the avocado, just add a hint of flavor. (Lemon juice is to help prevent browning from oxidation.)


Add the onion and tomato. I usually use a box grater on the finest side to grate my onions. Mash the avocados. Make sure it is completely mixed. I usually press a piece of plastic wrap all along the top to help prevent the guacamole turning brown until I am ready to use it.


That's it! Pretty easy right? Do you have any great tips for guacamole? Enjoy!


Thursday, January 19, 2012

Old-Fashioned Popcorn and Memories


Okay, so have you ever had old-fashioned popcorn on the stove? I'm an eighties kid and remember when it was 'before microwave popcorn'. Mom used to have, what was it? Jiffy Pop? Which had foil that expanded on the top? No. That's not what I'm talking about here. I mean, just some oil, kernels, salt and butter cooked on the stove-top. For me, it brings back some fond memories of sitting in front of the tv with my family (yes, my family only had one back then so we had to share, and heaven forbid we all spend time together) and watching Star Trek: The Next Generation...HA! My dad is a total Sci-Fi dork...Love ya, Daddy ;-) Actually, I liked it too, had no choice really but I honestly did like it. I can quote the opening segment to this day... Anyway...I'm getting off on a tangent...What was I talking about? Oh yeah, family memories. SO, this is something we love to do with our girls. We pick a movie and I pop some old-fashioned popcorn and we spend time with the lights off like we are at the theater. They LOVE it! and so do I. My mom taught me this method which she learned from my Gramps (who still pops it this way every night, as far as I know). What's great too is you don't get any of the garbage that comes in a bag with all the preservatives and processed butter flavoring. Just some salt is actually quite nice, so feel free to skip the butter if you prefer. It tastes so fresh and YAY! It's not a lot of calories! SOo without further adieu...here goes nothin!
(By the way, you are a part of the Redheaded Princess's first ever video tutorial...aren't y'all lucky? ;-))

A view of my 3 Princesses on movie night at "The Castle" American Girl dolls a set up ready to watch! Had to share, they're so sweet, but then again I AM partial...

Ingredients
Vegetable Oil
popcorn kernels
butter
salt

So all you need are some popcorn kernels found where popcorn is sold in your grocery store. I get it cheap at Walmart for less than two bucks for a big bag. Which, by the way, can last at least 6 months if not longer since you don't use many kernels at a time.

First, pour maybe a tablespoon of oil in a pot just to coat the bottom. This makes enough for my family to each have a serving. Use a bigger pot if you want more. (Note: Use a bigger pot, don't just add more kernels, it'll overflow the pot and lift the lid. I've found that if you fill the bottom with kernels, usually whatever pot you use will be full of popcorn when finished) Turn the heat to medium high.

Next, sprinkle handfuls of kernels so that they are one kernel deep in the oil. Put a lid on and wait. Don't go too far! You'll forget...trust me. When the popcorn begins to pop. Shake the pot back and forth until the kernels stop popping. Pour in a large bowl and sprinkle with some salt. Toss some butter in the hot pot and remove from the burner so the butter doesn't burn. Pour melted butter on the popped corn and go make some family memories!

Check out my video below for a short video demonstrating the process.


Wednesday, December 7, 2011

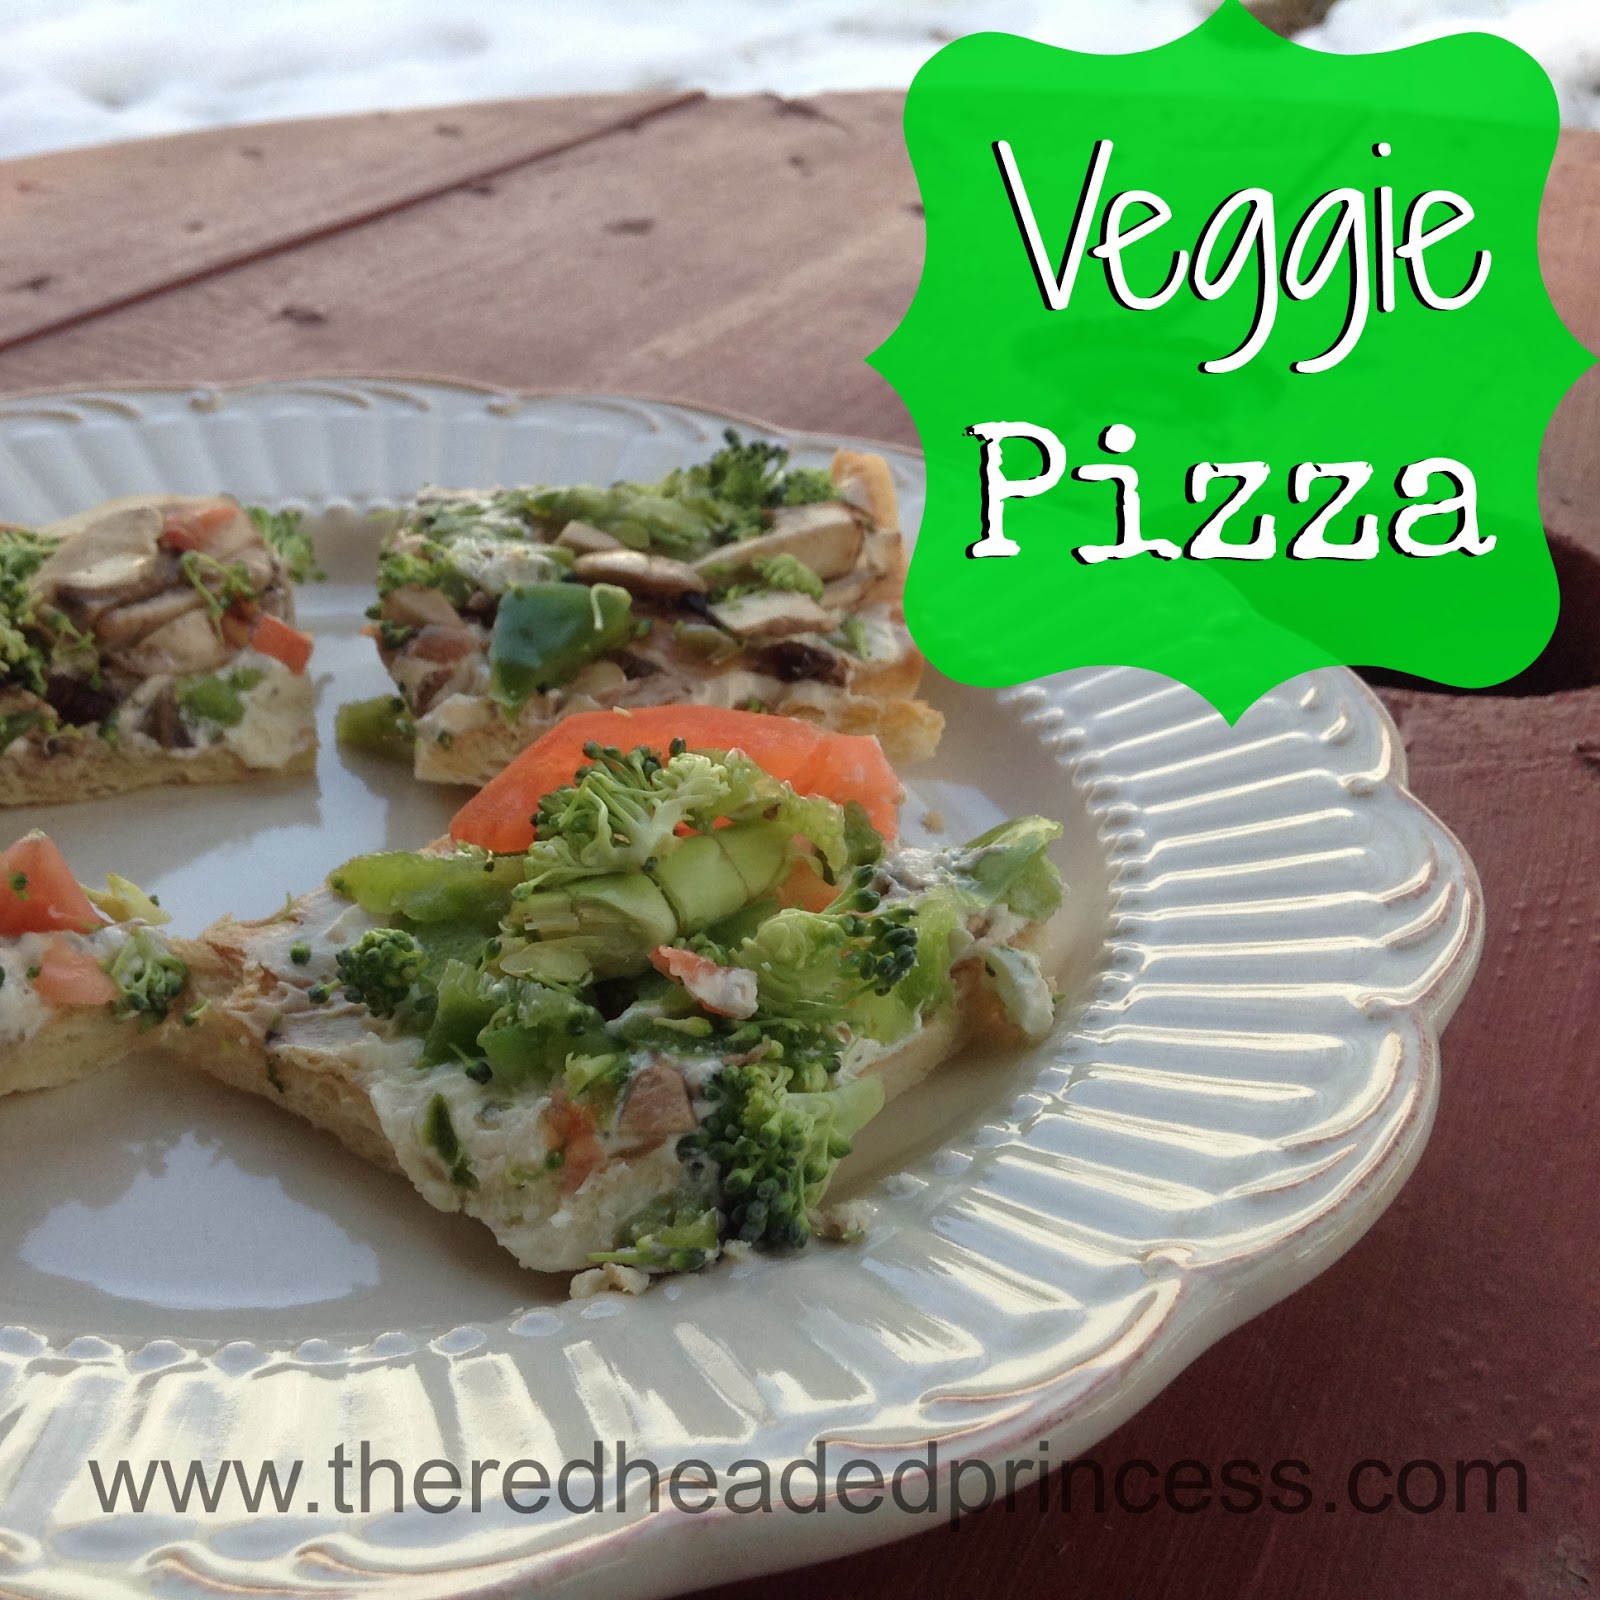
Veggie Pizza


Okay, so this recipe is another of my favorites. It's so simple and delicious and you feel like you're eating healthy with all the raw veggies. Perfect appetizer for parties!

Ingredients:

1 8oz package cream cheese, softened
1 package ranch dressing mix
1/2 green pepper, chopped small
1-2 carrots, peeled and chopped small
1 cup mushrooms chopped small
1 head of broccoli, chopped small
2 packages refrigerated crescent rolls


Preheat oven to 350 degrees Fahrenheit (or according to crescent roll package) Lay out the two packages of crescent rolls into a rectangle on a baking sheet or stone. Using a rolling pin, press the seams together to make a large rectangular pizza.

Bake according to package directions until golden. Let cool.

Meanwhile, in a small bowl, mix together softened cream cheese (you can microwave the cream cheese if it is not soft enough. It needs to be spreadable) and ranch dressing mix.


Prep veggies and chop finely. I usually use a Pampered Chef chopper for this. But a large knife will do just fine.

Spread the cream cheese mixture to cover entire crust. Next pour chopped veggies to cover crust. Press the veggies down into the cream cheese mixture to make it act like a glue.
Cut into 1-2 inch squares. Chill until ready to serve.


Related Posts Plugin for WordPress, Blogger...