
Hey Everyone! Here's my latest project....and this was a quick one! Prince Charming replaced someone's old windows and I asked him to keep their windows instead of taking them to the dump. I'm so glad I did because I was able to create this lovely piece of art. I've been wanting to do something like this for awhile but wasn't exactly sure how I wanted to execute it. I've seen a ton of cute pallet ideas as well. But if you know me, you know I like easy projects sometimes...especially when it's 3 degrees outside. Another roadblock was "what" to put for the quote/verse. There really are so many great ones out there, especially bible verses that really speak to me. The problem with a lot of them is that they are too wordy. Not too wordy in general, but too wordy for something like this, on the wall...in my dining room. When I saw this verse, I knew it was the right one. I mean, it sort of sums up the whole of Christianity and believing in Jesus as the Son of God. If we love each other as He loved us can you imagine the world we'd live in? I swear, last week the news reported at least 10 dead bodies found in different parts of the city. It seemed like every morning if not twice in a day, my 6abc app alerted me to another one. If we loved each other, I mean truly loved each other, then there would be no need for any other commands. Thou shalt not lie? Of course we wouldn't! Thou shalt not steal? Definitely not. So, in my home, where my children will see this every day maybe it will remind them...and me...to be patient, to be a little more loving, a little more selfless. We are human, and will fail, but we can strive to be better...and if I'm putting words on my wall, they should be profound.
Anyway, that was a long-winded way to lead into this lovely project...:) First, I printed out the words as large as I could get them. My handwriting stinks, so I'd rather have something a little prettier. Then I cut them out.
Next, I turned the window over and lightly taped the words in place.
Turn the window over to check alignment.
Using black acrylic paint and a tiny brush, begin to paint on the window, tracing the letters.
Remove the words off the back and Voila! A lovely, meaningful addition to my dining room!


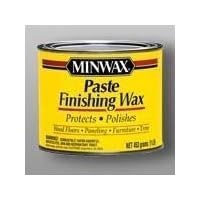
 I used this
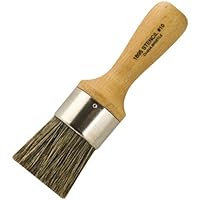


