Showing posts with label Outdoors. Show all posts

Tuesday, March 4, 2014

Jiffy Greenhouse Review


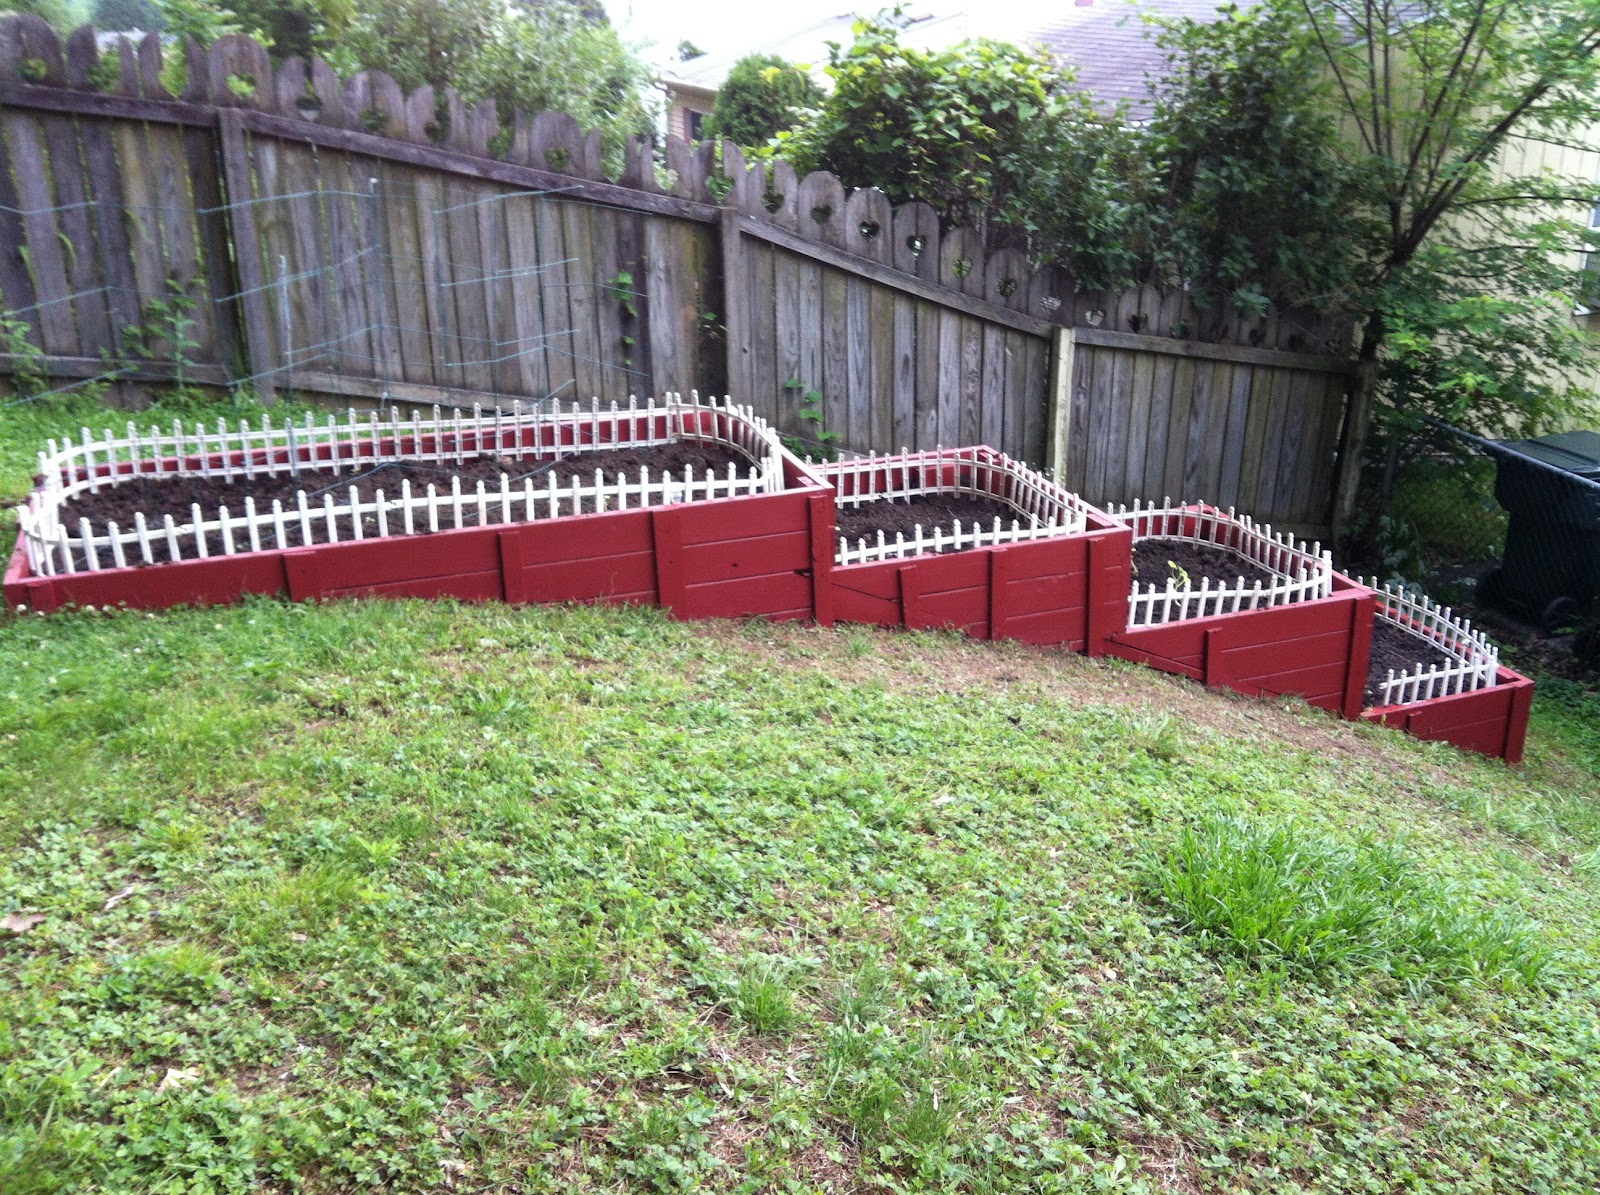
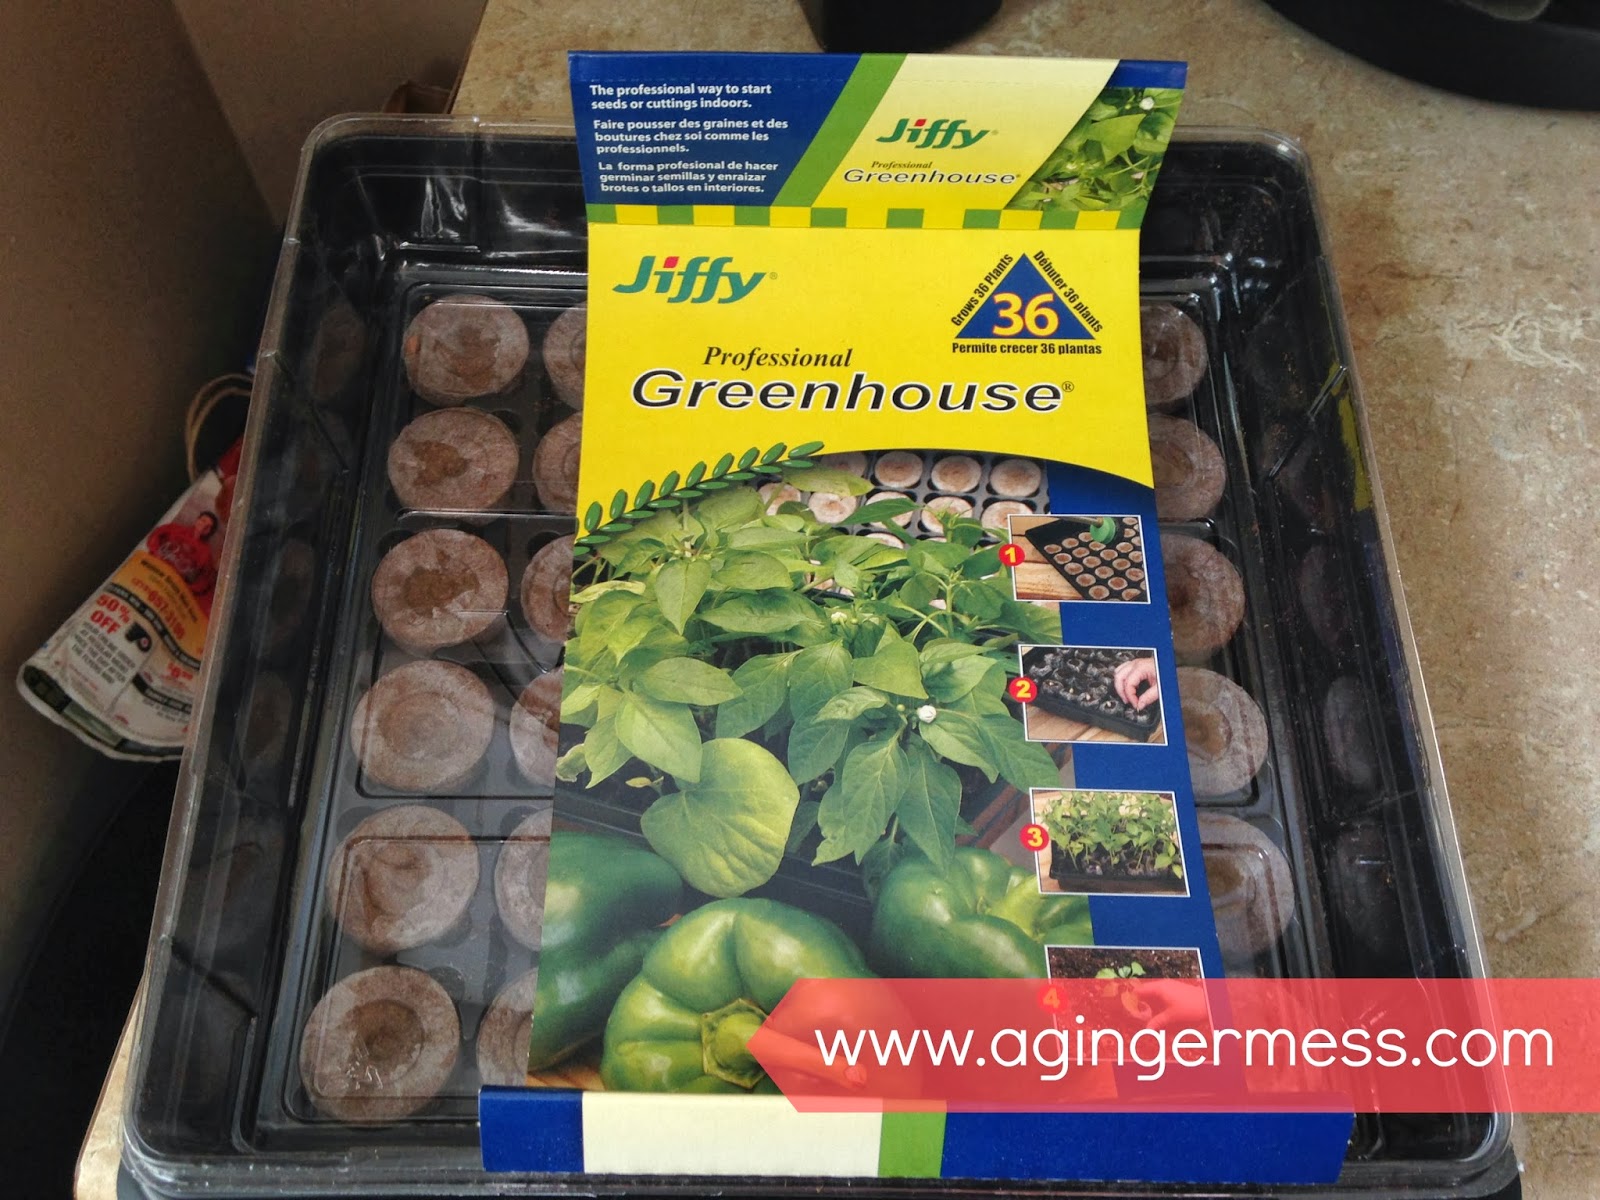
So I have a bad case of the winter blues. I hate being stuck inside this long so I need things to look forward to....such as the spring. Though it doesn't look like it's coming to Philly any time soon I decided to get some of my plants going for my garden this year. Last year I started it at the end of March/beginning of April and the plants weren't ready in time. SO...lesson learned. I did some internet research on different seed starting methods and was hemming and hawing about whether to make my own (I've been saving toilet paper rolls for this and did it last year) or buy some. I found these Jiffy Greenhouse starters at Walmart for under $5. They have several sizes and I opted for 2 that hold 36 plants each. All I had to do was add water and Voila! The pots expanded and have a netting around each that can be planted right in the ground. What's also great is the lid! It is its own little greenhouse! How cool is that? Also, the directions are written right on the box and very simple to follow. All you do is add water. I planted mostly veggies and some perennial flowers in the one and my annuals in the other. I will let you know how it goes. So far, I think it's worth the five bucks. No messy soil, no cleanup! Love it! It was exciting because after 3 days my daisies were already sprouting!


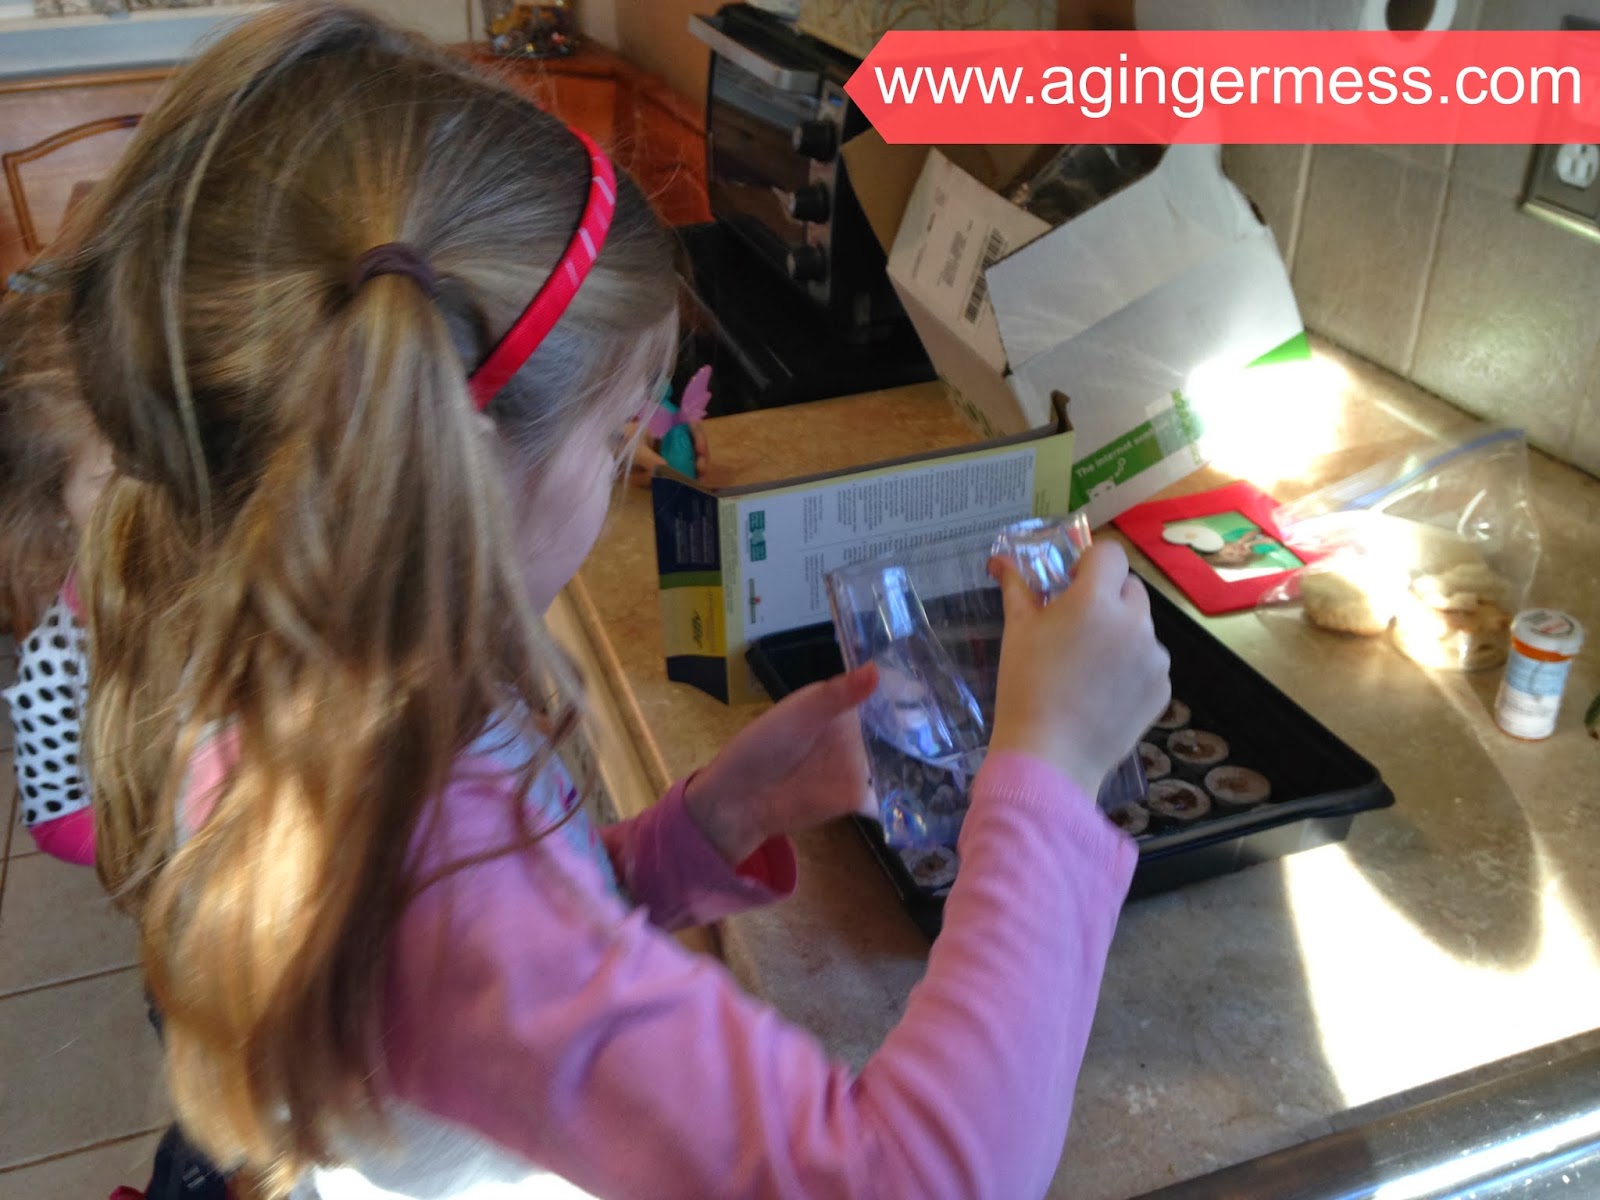
Taking turns adding the water. 
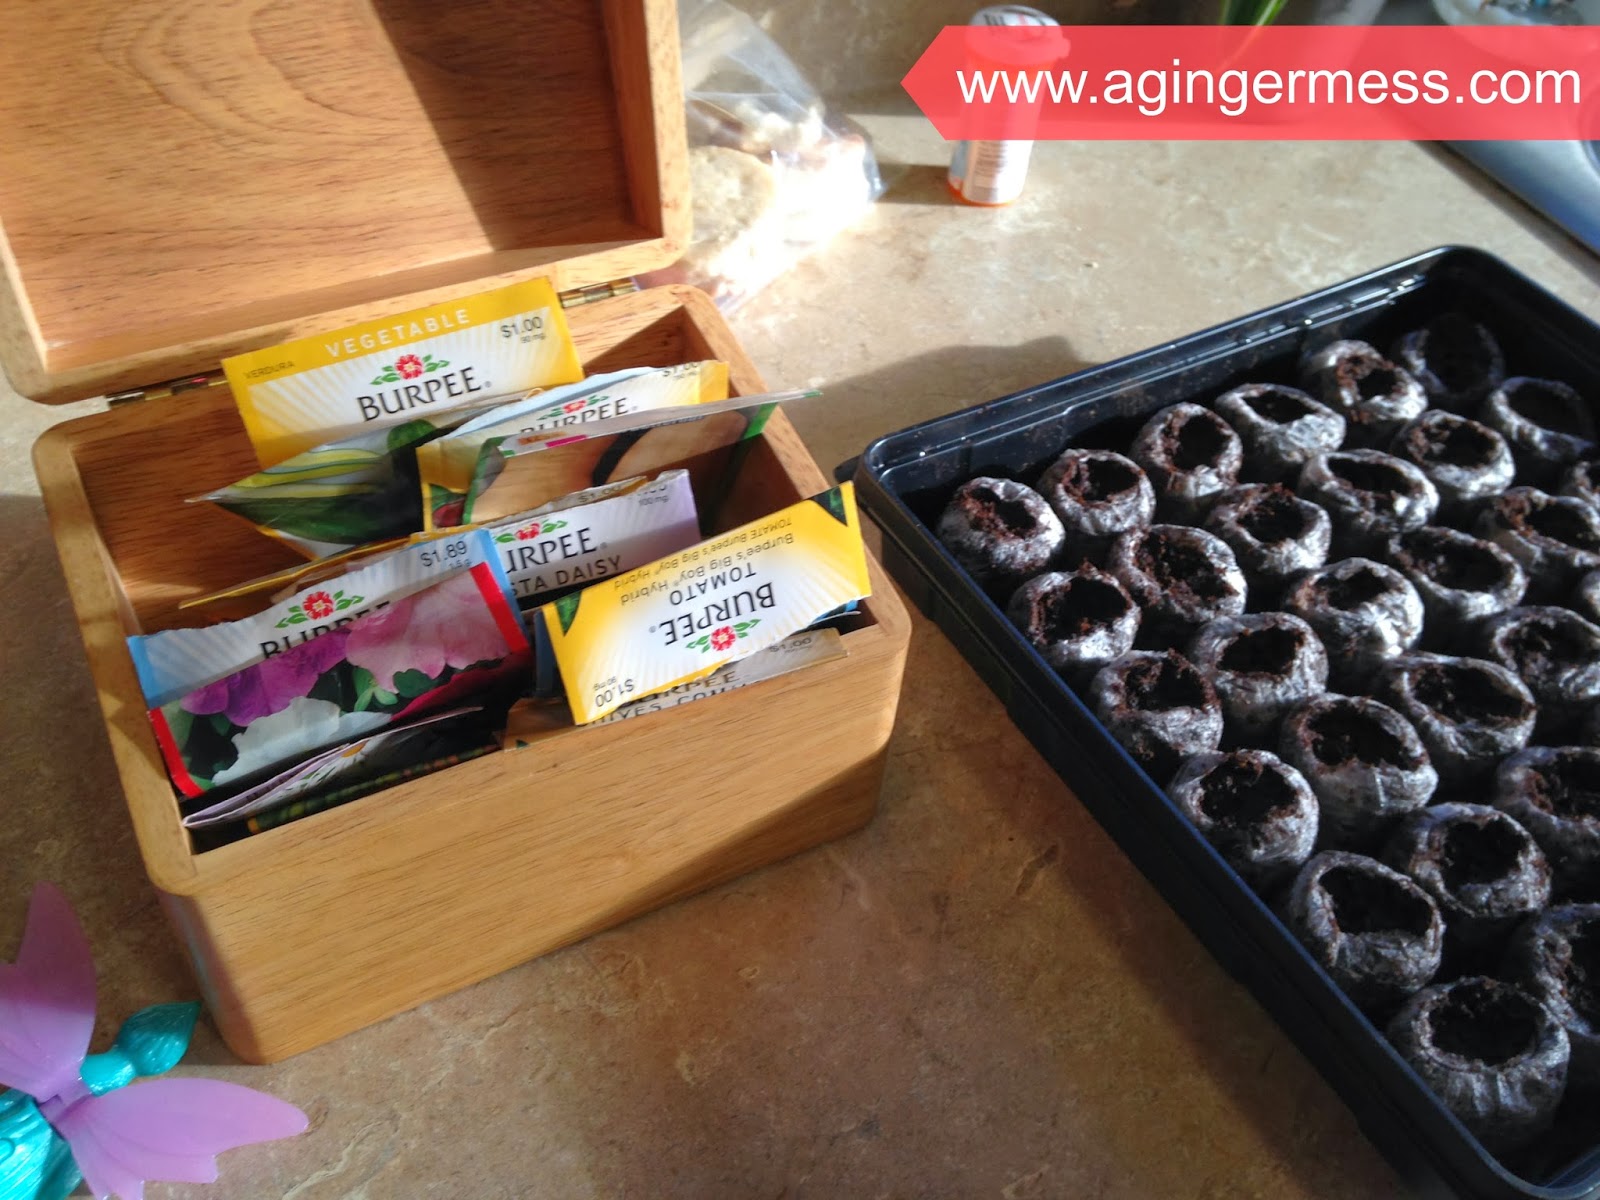
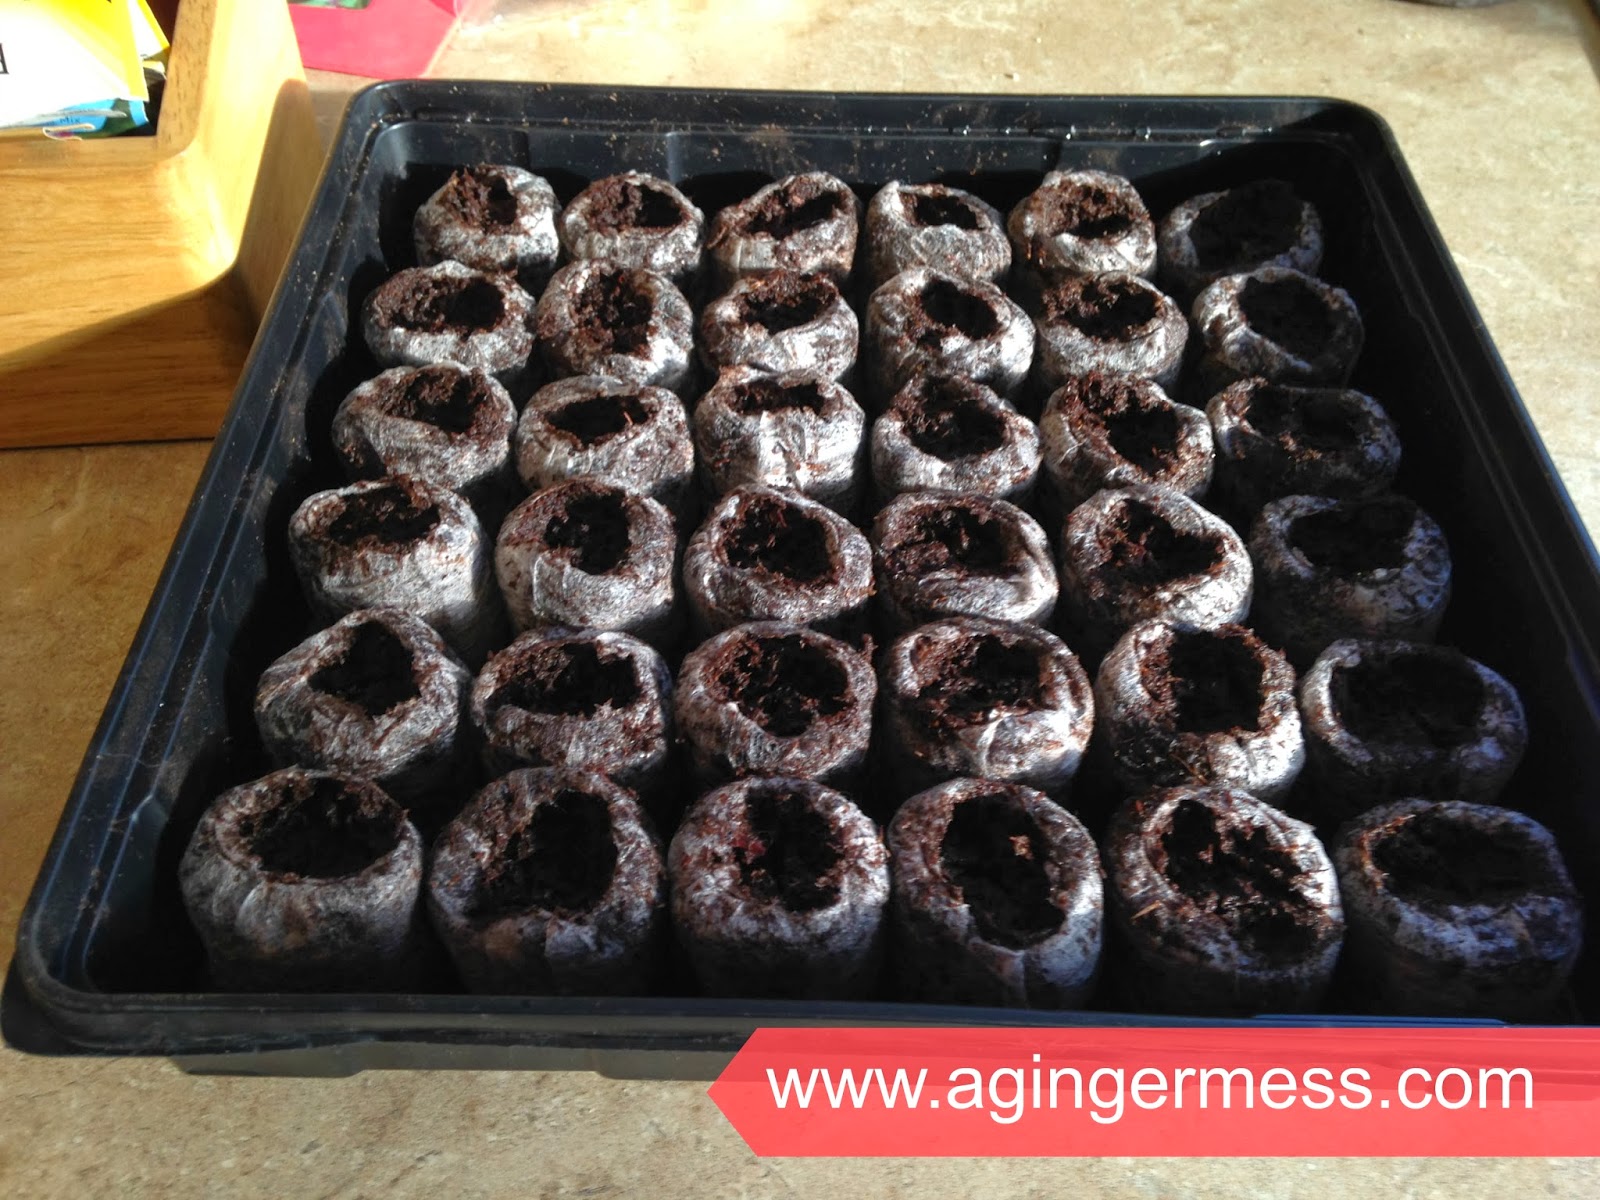


After they expanded


Tip: I store my seed packets in an old recipe box. How do you store yours?

Stay tuned for updates! I'm excited that I won't have to spend a ton on flowers and veggies. Let's pray I don't kill my seedlings! lol

Overall, I am very happy with my Jiffy Greenhouse. I was not contacted by Jiffy in any way and am not being compensated for sharing my opinion. 

Thursday, May 30, 2013

Working on a Green Thumb!


So, I've been slowing learning all about plants and gardening for the past 5 years. It's slow going, but I add a few plants each year to my repertoire of gardening knowledge. I've made lots of mistakes along the way AND had lots of good results. Well, some of you may remember last month when I posted How to Create an Edging for Your Garden. Well, I figured it's about time I posted an update. I didn't get mulch right away because I planted a bunch of bulbs from Michigan Bulb Company and was nervous they'd not get enough sun. HOWEVER, little did I know that it was going to be pouring rain and I'd have a terrible mudslide! Aaahhh!! Yeah, my little (not so little) hillside garden washed away and I had to dig, dig, dig and bring some of the dirt back UP the hill! I lost 3 freesia bulbs in the process :(. SOOO Prince Charming had to pick up the mulch and we spent a couple hours getting it all in.  And guess what?? The next time it rained everything stayed put!! Score! 

BEFORE

 AFTER

So anyway...luckily my awesome sister-in-law gave me a TON of beautiful hostas, which is great because while I'm patiently impatiently waiting for my baby plants to grow (seriously, the waiting is killing me!!) I at least have some lovely greenery. 


Alright, so onto the plants...here is my pitiful little Fernleaf Bleeding Heart. Next year it'll probably be triple the size if not more. When I ordered a garden from Michigan Bulb Co. several years ago at our old home the first year all the plants were fairly tiny. However each subsequent year they grew like crazy! I have to keep reminding myself "patience is a virtue...patience is a virtue....patience is a virtue..." sigh....I'm so NOT patient!


YES!! Finally my Lilies are coming through!!! I think I would have done a backflip today when I saw this if I was even capable of doing so....


I cannot WAIT for these to grow and bloom....Shasta Daisies!! One of my favorite flowers!


My Lily of the Valley plants.


Lily of the Valley up close and personal.


Widow's tears.


My 12" lilac. 


My primrose plant.


My raspberry bush transplanted from a neighbor's yard last June. It's more than double in size!


These fronds are my 2nd year asparagus plants planted in my Step Garden. Next year I get to harvest all of them babies! Can't wait! They're blocking the sunlight!

More updates to come...I just planted some veggies but forgot to take the rest of the pics...oops!

So there you have it! Hopefully I don't kill any plants especially since the mudslide already took some of them out. I am patiently waiting for my Ferns and Begonias but they are TAKING FOREVER! And believe me...when I said I'm impatient...yeah...I already dug down to the bulbs twice to see if there was any progress! Hopefully I didn't kill them in the process....can we say OCD???

post signature

Saturday, April 20, 2013

How to Create an Edging for Your Garden


Hey Y'all!
Mow-over flower bed edging. so much easier!
This image isn't mine, it's
the pin I found.

So last year my spring project (which my Prince Charming executed so wonderfully) was my step garden which I wanted in the hill in my back yard since it's the only spot that sun hits the majority of the day. If you haven't seen that yet then check it out by clicking this link STEP GARDEN . I LOVE it! Last year I planted asparagus and a bunch of herbs which are coming out quite nicely. I was able to use the rosemary all winter (which was awesome! especially when I make rosemary roasted potatoes). So this year, I decided I wanted to create a new flower bed in one spot in my yard but since there were no plants in my yard at all we had to start from scratch. Well, of course, I went online to do some research. Last year, my husband and his brother took out an EP Henry type stone wall on a job and kept the blocks so I knew I had them as an option. Then I found THIS PIN on pinterest and the wheels started turning.
Finally, I found a great video from This Old House (Love that magazine/show) which made it all sort of come together. They said to use an edger but because I'm one of the most impatient people ever and I didn't have one yet I used a flat shovel instead. :)


First I laid out my hose in the shape I wanted the garden to be. 


Then, taking the shovel I put the edge straight down and loosened then removed the soil. You can't tell from my picture, but I did go STRAIGHT into the soil. I'm actually on a hill. I would definitely encourage you to watch the video that I watched. It was very helpful.


Voila! Here's my newly edged garden outline! Now, since all of the soil in my backyard is actually clay we removed 4-6 inches deep and dumped it behind our shed...yeah, I'll have to clean up that mess later. Oh, and when I say 'we' I mean, I only loaded 5 half full wheel barrows and dumped it because that hill in my back yard is a BEAST! I was grunting and panting and realized I am so not strong! So my Prince Charming being the amazing husband that he is surprised me by paying a couple guys from work to dig and remove all the dirt while I was at work.  It took them more than 5 hours and they were exhausted. I'm such a lucky girl! :)


I placed the stones along the edge. I didn't use gravel underneath, which is what the pin on pinterest did, because again, I'm impatient. I may end up putting something underneath in the future to prevent weeds, but since my yard is the FARTHEST thing from level, I had to adjust each one. My goal is to have most of them level with the ground so when I mow (or should I say when Prince Charming mows) then we can just put the wheels on the blocks and get the grass all the way to the edge.


Here's it is with all the stones in place and dug out. You can see along the house the dirt is darker. We ended up getting about 2 1/2 yards of good topsoil to fill in the new garden. Now I just have to wait for all the plants I ordered on MichiganBulb.com to arrive....I can't wait!! 

More updates to come....

Wednesday, July 11, 2012

Step Garden Update...My First Harvest


Okay, so I am super excited to have my first harvest from the garden! (Not including herbs) Just picked these two ripe zucchini and they look delicious! If you aren't familiar with my wonderful step garden built into the hill in my back yard then feel free to GET familiar over at My New Step Garden. Here's an update on the produce growing in it...

My Princess2 kept picking the dill and smelling it. I also have basil, thyme, oregano, rosemary, parsley and mint...and some petunias for fun!


My green peppers


My zucchini seems pretty happy in this space don't ya think?


A little bigger and I can have some fried green tomatoes! 


 And last but not least, the upper deck...tomatoes, cherry tomatoes, cucumbers, asparagus and pole beans.


Love my garden!! And what's great is that since it's only 4 feet wide, I rarely have tons of weeds!

Saturday, June 2, 2012

My New Step Garden!


Okay, so let me just say...I am one blessed lady! Seriously. My husband rocks!
Why? Well, I'll tell ya. Back in December DH and I purchased a new home which we love, BUT it has one drawback. The back yard has a big hill in it. We are pretty lucky though because it somewhat levels off and we have a swing set and shed. Anyway, I don't know about you, but I like having a vegetable garden.We had one for a few years at our other house. It's a fun hobby and we love the fresh produce. However, the only spot that gets sun most of the day in our new backyard is that doggone hill! So, being the 'genius' that I am, I came up with the great idea of building a step garden in the hill. So smart. I know. (pats self on back) LOL. Well, wouldn't ya know, the genius has NO idea how to actually build one AND I had a difficult time finding a tutorial online. SO, I went to my wonderful hardworking handy carpenter of a husband and asked him oh so sweetly to do it for me. And as every married couple assumes, yes, he literally jumped for joy!...right...Well, being that he must actually love me, he did decide to build it for me even though he's never built one before and had to make it up as he went along. SO.... here's my awesome hubby working his tail off. Don't let him know these pics are on here...It's our little secret. He started it  Mother's Day right after church and just put on an old shirt and never changed out of his dress socks. He hates these pictures...so SSHHH! He spent at least 12 hours all together between building it, helping me stain it, picking up and unloading compost and topsoil. Again, my husband is AMAZING....today...lol...just kidding...he is always amazing...sometimes I forget and it's things like these that put it in perspective. Love him more than anything! So without further Adieu....

Directions:

Marry a carpenter or hire one because I don't know what else to tell ya! Sorry!


Building the first box. We figured out that it is probably better not to build the box first because not only did we have a vertical angle, but we also had a horizontal angle to deal with. 


Here's Princess2...seriously...Isn't she adorable?


Mommy, enjoying a gorgeous Mother's day with my sweeties while my DH works. Feeling loved today... :)


Remember...you never saw the socks or old shirt! ;-)


Finding where level is...He's so smart!


Bracing the wood.


Level?


3 out of four...this was the 2nd day. And it was drizzling. 


Almost finished with the building process...yay!


He was much happier with this outfit. He just got home from his real job. So these are his real work clothes.


All done! He is quite exhausted. I owe him big time!


I got a solid outdoor stain which is a waterproofer and sealer in one. So I just needed two coats. It was called "Barn Red"


Here it is with all of the compost and dirt for this year. I will add more next year, but by the time he had finished unloading the dirt from his truck, I just didn't have the heart to make him go get more. So he can be done...for this year...lol. 

My zucchini...they have their own home since they don't like to share their space very well...

Related Posts Plugin for WordPress, Blogger...