

I don't know if anyone remembers my recent post You Might Be a Redneck If.... but in it I talk about how I trash picked a picnic table. Well, I finally got around to that DIY project. What happened was, I happened to be

So anyway, here are the tools I used:
A chisel (I'll tell you why later)
A HUSKY 14 in One paint tool (LOVE this thing!)
The Mouse power sander
Bondo scraper (this is for later also)

First thing I did was to scrape all of the old paint off. I didn't want anything loose otherwise it would probably peel once the new coat was on. However, I ran into a glitch along the way. Rot. Apparently whoever owned this gem previously didn't care for it...hence it was out to the trash. I mean look at it! Well, there was one section that I came across which was rotted. I was going to just paint over it and deal with it later. Not the smartest idea, I know, but I wasn't sure what to do at that moment.

With the next step, though, which was to sand the entire table down, the rotted wood came off. Ugh. So, here's what I did. I finished sanding the table and then wiped it down with a damp old rag.

Next, I took the chisel and carefully removed the rotted wood. Then, I remembered I had this Bondo body filler which my dad used in our old house because our half-bath door was hung the wrong way when we moved in so he fixed it for us but had to fill in the old holes from the hinges. (Thanks goodness for my Dad!)

Here's the product I used. It comes with a filler and a tube of hardener. Next is the tricky part. It takes about a minute after mixing to harden so you must be ready and work quickly. Using a disposable spoon I scooped it into the hole and used the Bondo scraper (you can use a putty knife) to smooth it out and fill in the hole.

It took about 4 different batches to fill in the hole completely. Be sure and use the scraper to remove any excess around the hole.

Here's what it looked like after the hole was filled.

After it cured for about 30 minutes I used my sander to sand it down smooth. I wasn't looking for 'perfect' because it is an old table and has many imperfections. Then, I wiped it down with a damp cloth.
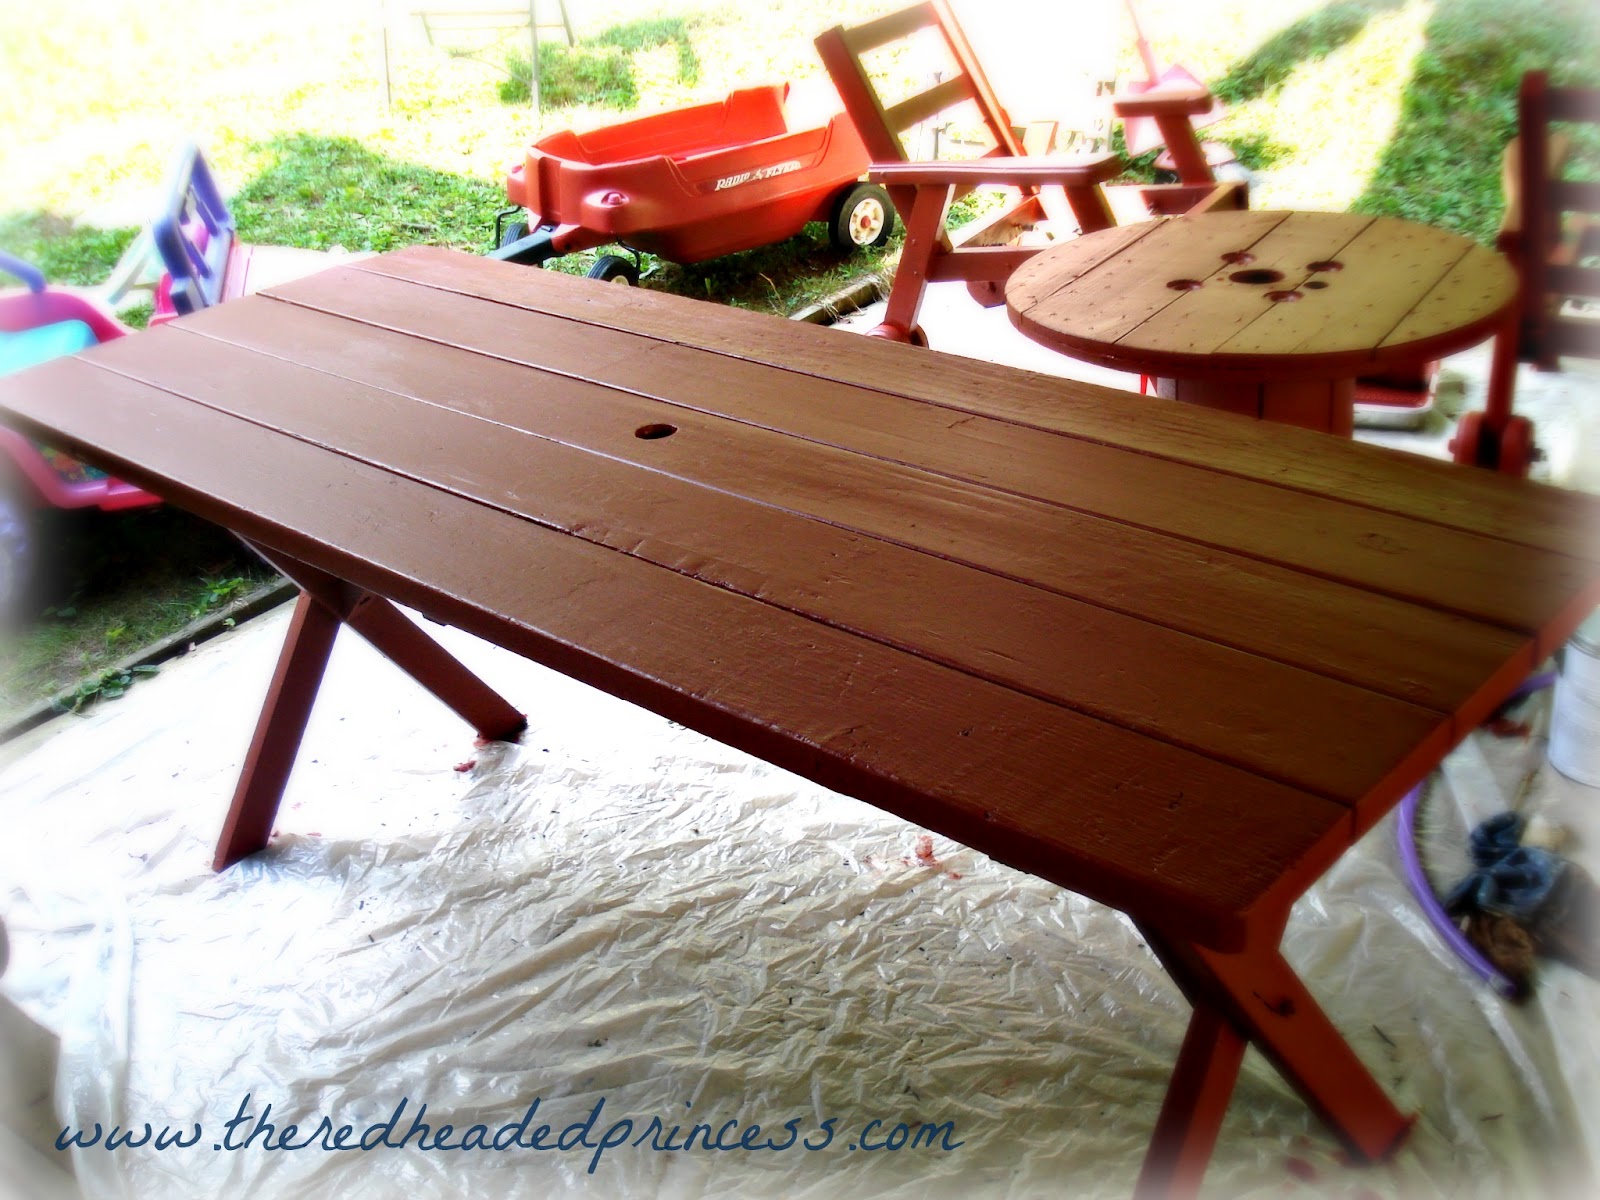
Next I used an outdoor SOLID stain and painted the entire thing in two coats. Voila!
Another man's trash is another's treasure, right?
Here's me after a full day of painting...I'm NOT a clean painter. If you're not either, be sure and wear old clothes or a painters' suit. (I had other outdoor furniture I painted to match.)


Looks nice :)
ReplyDeleteSounds like quite a project! Way to go--it looks great! Reminds me...I need to buy some paint for MY picnic table!
ReplyDeleteGreat job on the table. I love doing DIY projects like this. I too re-furbished a table. It's not always easy, but its FREE.
ReplyDeleteThanks, Holly!
ReplyDeleteThanks! You can't beat free :)
ReplyDeleteNicely done!
ReplyDeletewow, that is so amazing that you were able to restore that picnic table! You are making me second guess everything I leave out for the trash!
ReplyDeleteThanks, Kassie! It was definitely a 'project' but we're pretty happy with the result. I know what you mean though. My father in law has shown me how to be a little more frugal over the years :)
ReplyDeletenicely done. if you run out of projects at your house i have one you can work on....
ReplyDeletethanks! Bring it on over...lol
ReplyDeleteI am totally impressed. I am so afraid of refinishing and restoring....I guess the worst that can happen is I ruin it. And if it is from the trash.....Okay so now I will be looking for a trashed picnic table. Thank you for the inspiration. Thanks for stopping by my blog. I don't know if you looked around enough to notice, but both of my princesses are red heads! One curly, one straight. =)
ReplyDeleteGreat job. I just saw a new picnic table at Lowe's for $88 so you did good! And it looks wonderful.
ReplyDeleteGreat job. I just saw a new picnic table at Lowe's for $88 so you did good! And it looks wonderful.
ReplyDeleteWow! You did an awesome job! I love the color. Thank you so much for stopping by. I am now following you too.
ReplyDeleteWow! You did an awesome job! I love the color. Thank you so much for stopping by. I am now following you too.
ReplyDeleteWow! You did an awesome job! I love the color. Thank you so much for stopping by. I am now following you too.
ReplyDelete